
Job panel
This section explains job-related actions such as Export outputs, Reset job…, Mark complete…, Export job…, and other options used to manage job instances.
|
|









Export outputs
-
Select the required job.
-
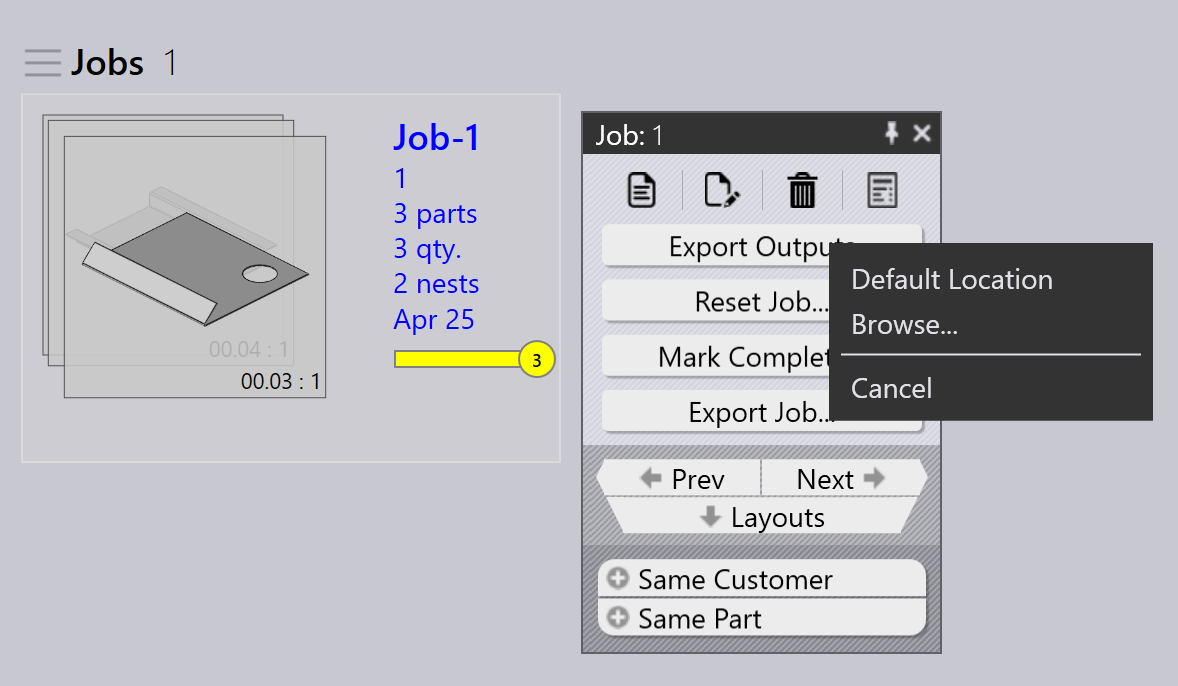
Click Export outputs.
-
This exports the machine-ready output files generated for the selected job.
-
Export Outputs can be saved either to the default location configured in Factory Settings or to a custom location by using Browse….
-
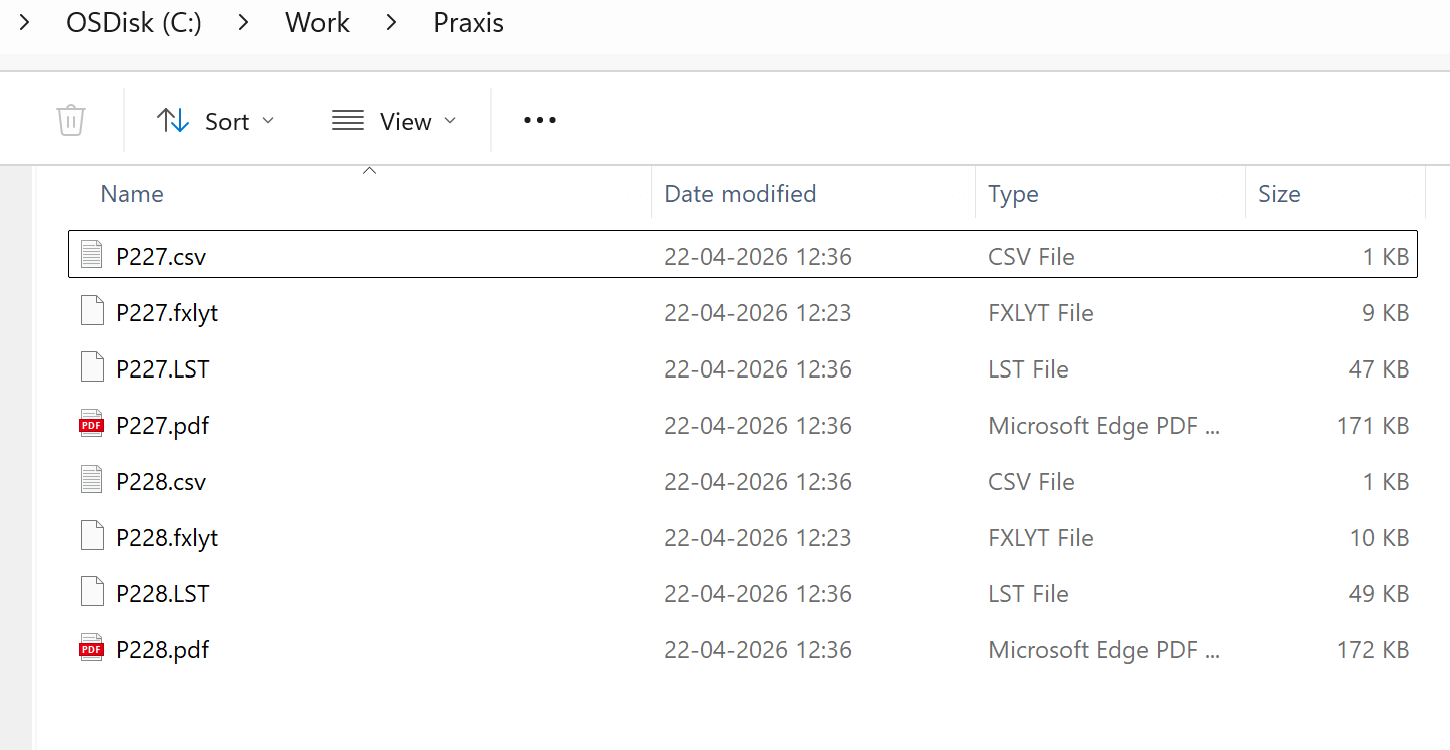
It exports only machine output files (such as NC and reports) for the job.
-
These files are used directly for production and can be sent to the machine.
Reset job…
Resets the selected job by removing all generated layouts and making the parts available for planning again.
To reset a job:
-
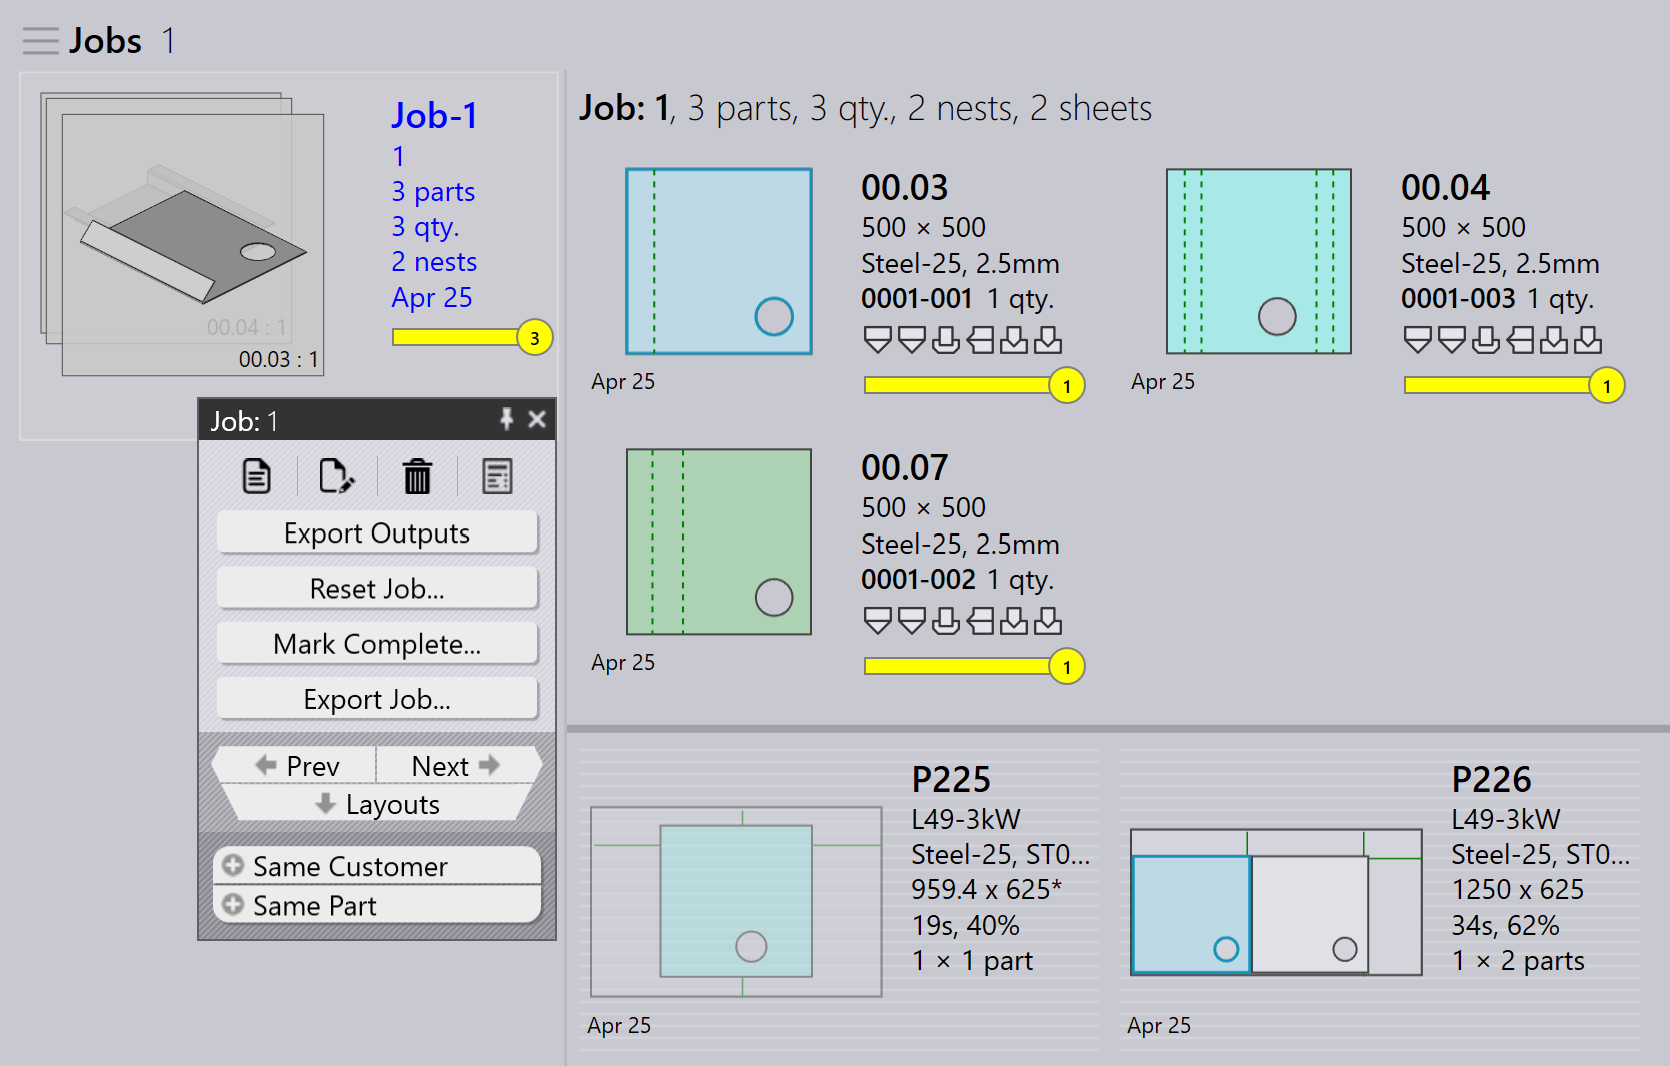
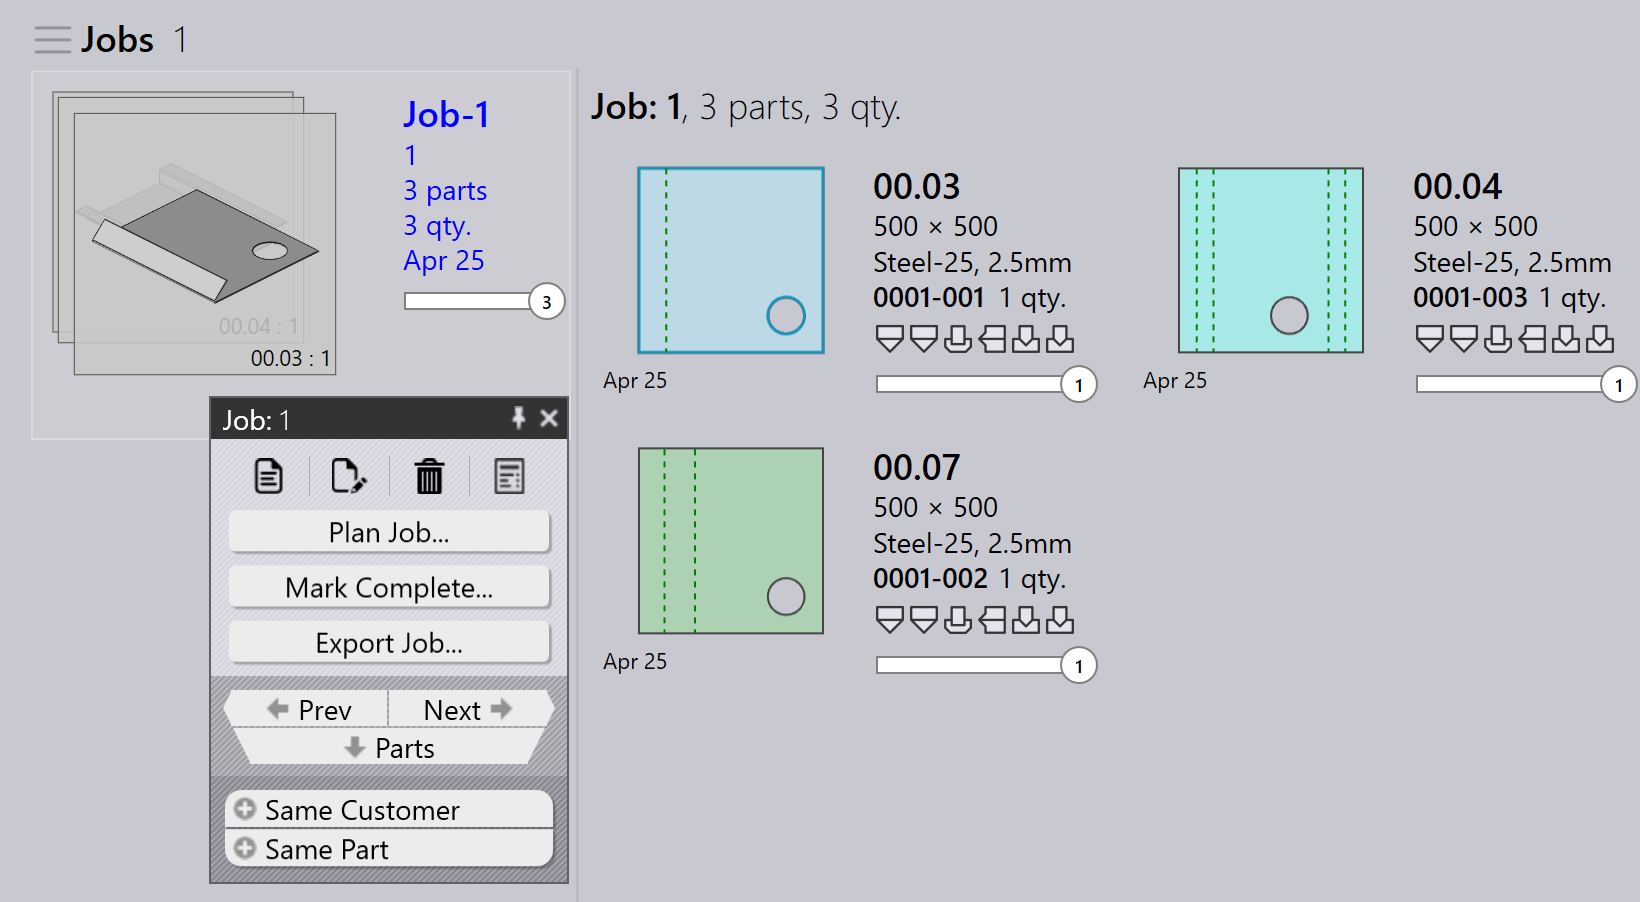
Right-click the job and select Reset job….
-
This deletes all existing nested layouts for the selected job and resets all its parts to the plannable state.
-
If the layouts contain parts from other jobs, those parts are also reset.
Export job…
-
Select the required job.
-
Click Export job….
-
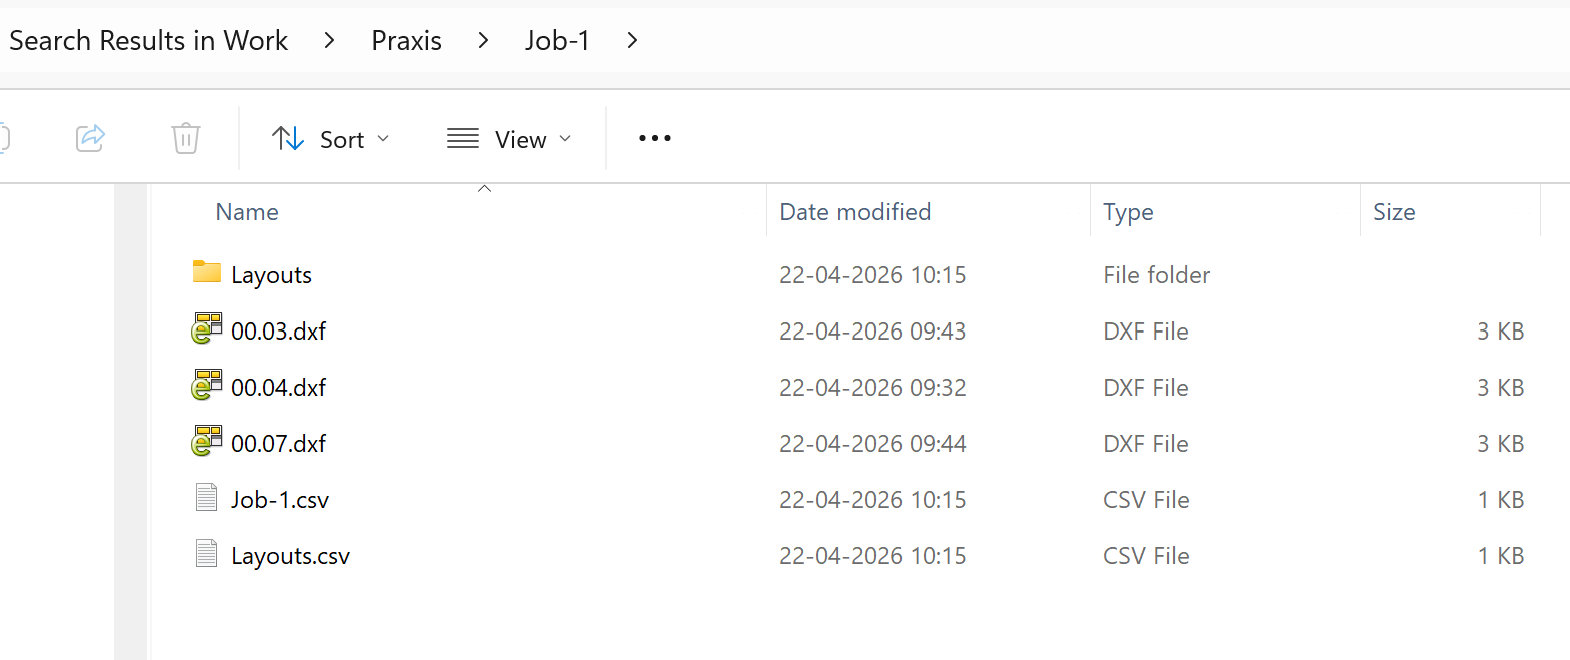
This option exports the complete job as a package that can be reused or imported into another system.
-
The exported data includes all information required to recreate the job:
-
Part details and quantities (CSV files).
-
Layout and nesting data (CSV / FXYLT files).
-
-
The exported files are saved as a job folder in the configured export location.
-
This option is used for transferring, sharing, or backing up the entire job.
Mark complete…
-
Once the job is processed on the machine, open the Job panel and select Mark complete….
-
When a job is marked as complete:
-
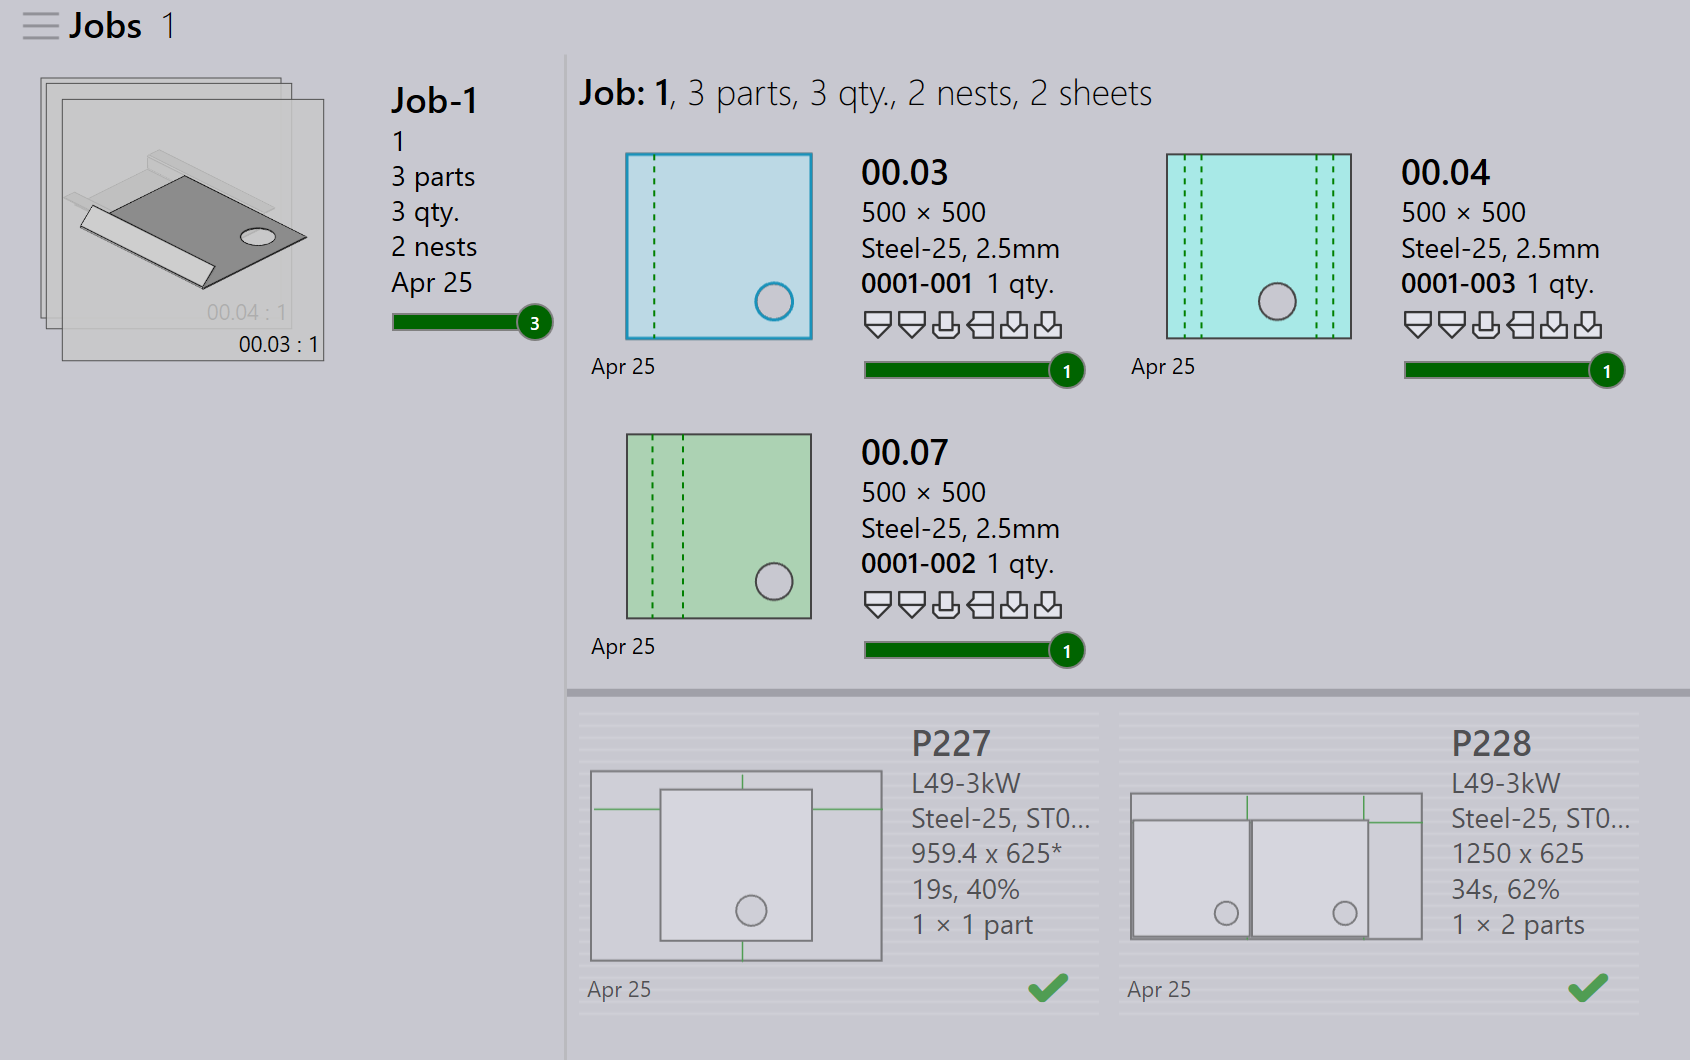
All nests under the job are marked as complete.
-
The job is greyed out, moved to the end of the list, and shown with a green tick mark.
-
All layouts under the job are removed from the active layouts list.
-
Part and job statuses are updated, and processed quantities move to the completed state.
-
Output files for all layouts in the job are removed from the machine output location to avoid duplicate use.
-