Praxis Reference Manual

  • Welcome to Praxis
  • Installation
    • Hardware requirement
    • Supported file formats
    • Prerequisites
    • Server installation
    • Client installation
    • Change license
  • Configuration
    • Add/Remove machine
    • Setup tooling
    • Configure users
    • Language
    • Material
      • Add new material and sheet
      • Export/Import material
      • Replace material
    • Map material
    • Map CAM pages
    • Map fields from CAD (lookup keys)
  • The user interface
  • Workflow
  • Library
    • Open
      • Import parts
      • Import orders
      • Import jobs
      • Import assemblies
    • Library view
      • Parts
      • Assembly
    • Part status
      • Part validation
      • Part panel
      • Part filters
    • Tooling status
      • Tooling validation
        • Bend tooling validation
        • Cut tooling validation
        • Fold tooling validation
      • Tooling panel
    • Saving filters
  • Orders
    • Orders view
  • Jobs
    • Create job
    • Job view
    • Job panel
    • Auto plan
    • Interactive nesting
    • Repacking
    • Nest management
      • Layout view
      • Layout panel
      • Report sender
    • Remnant management
      • Auto remnant management
      • Manual remnant management
    • Twinline nesting
    • Out-of-date
    • Job filters
  • Factory
    • Routes
    • Sheets
    • Users
    • Edit
    • Customers
    • Settings
      • Environment
      • Import
      • Bend
      • Cut
      • Notifications
      • Watch
      • Job
      • Reports
  • Impressum
Library
/
Open
/
Import parts

Import parts

Before importing parts, ensure the file formats are compatible with Praxis. See supported file formats for more details.

If material and thickness are not mapped to the part after import, assign material using the part panel.

Import methods

There are three methods to import parts into the Part Library:

  1. Import via file

  2. Drag and drop

  3. Watch folder

Import via file

A 2D or 3D part file can be imported into the Part Library using the Import parts…​ option.

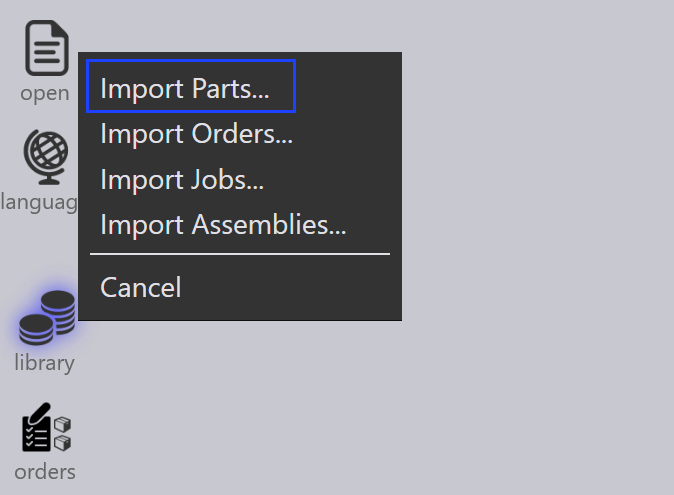
  • Click open icons from the command bar and select Import parts…​ option.

    Import part
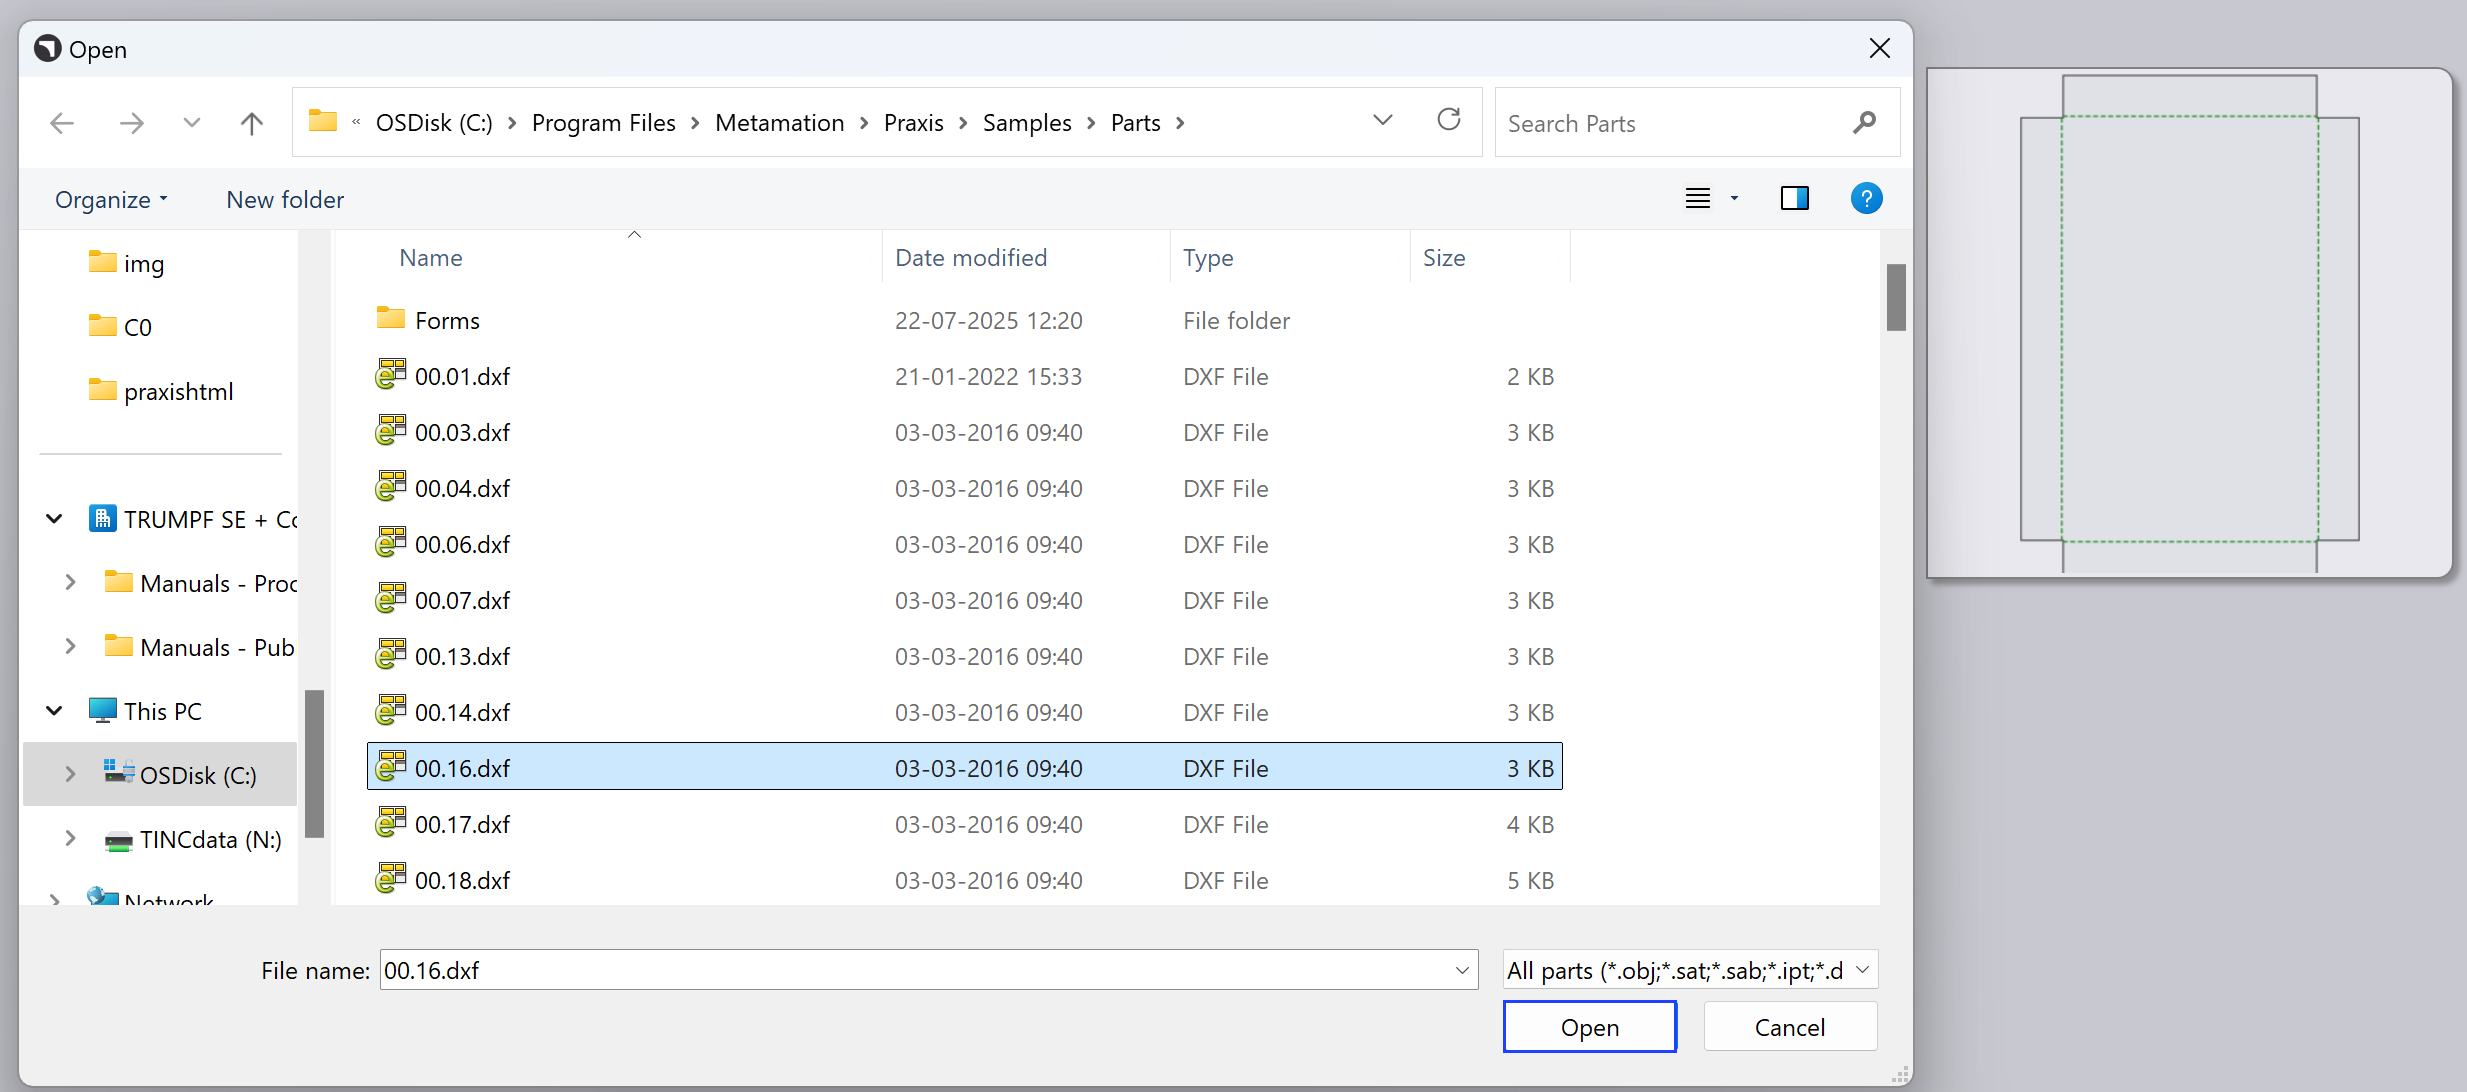
  • The Open dialog appears — select any CAD file (2D or 3D).

  • A preview of the selected CAD file is displayed.
    Part preview
  • Select the required part and click Open.

  • The system auto-tools the part for all available machines with updated tooling status.

Drag and drop

  • Drag and drop a part file directly into the Praxis Part Library.

Watch folder

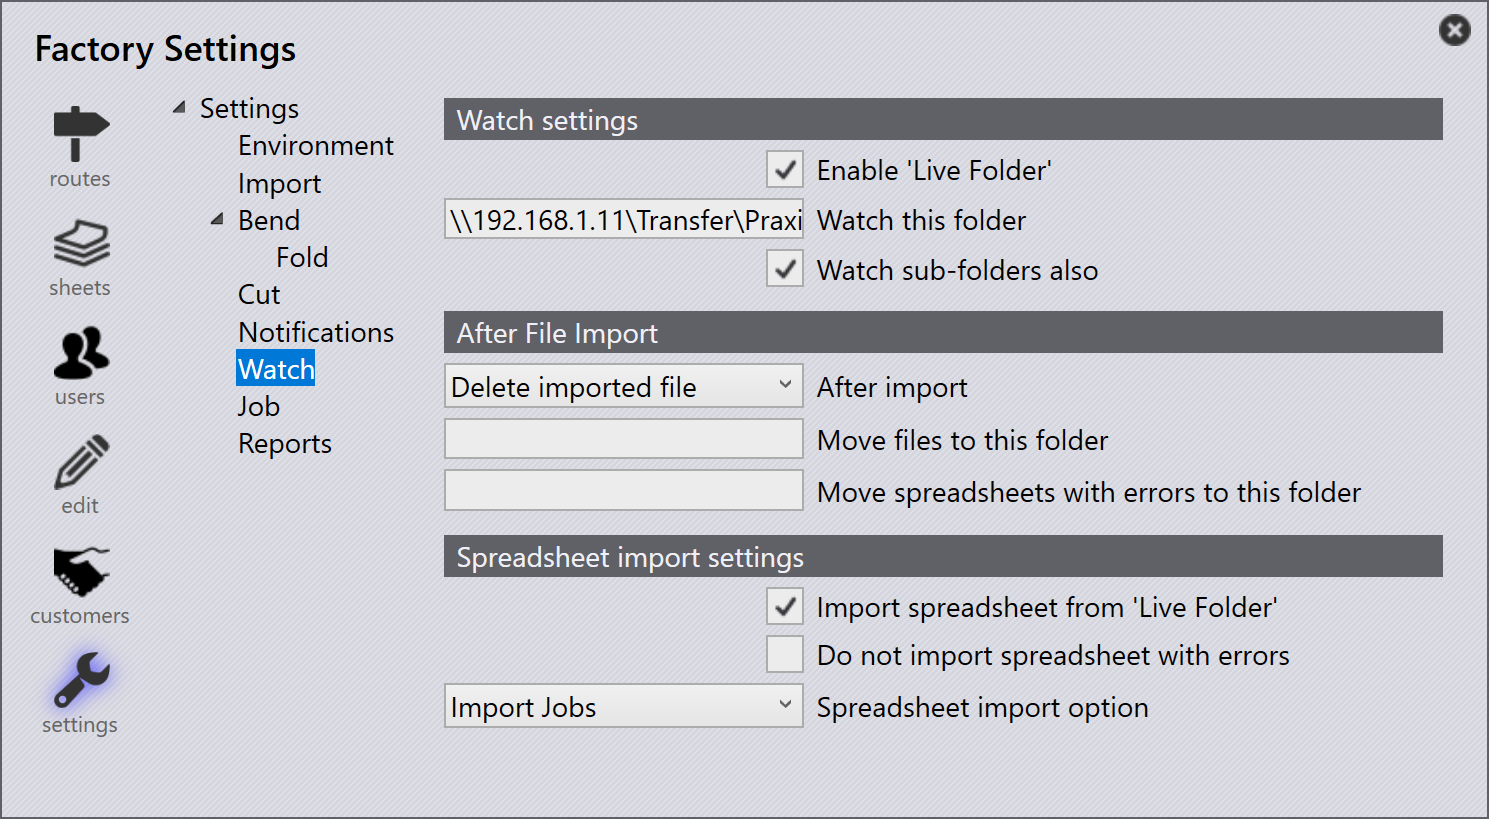
Watch settings allow you to monitor a folder for new files and automatically import them into the Part Library.

To configure, see Watch settings page.

  • Use UNC (Universal Naming Convention) path \\192.168.1.11\<Folder path> or a mapped drive M:\<Folder Path>.

  • The Engine-running PC must have read/write access to this folder.

  • Do not use a local path like C:\<Folder Path> because the Watch service looks for files on the Engine PC — not the local PC.

Watch settings

Import configuration

Use geometry comparison on same CAD revision

When importing a part with the same CAD revision, Praxis can compare the geometry of the CAD file with the existing part.

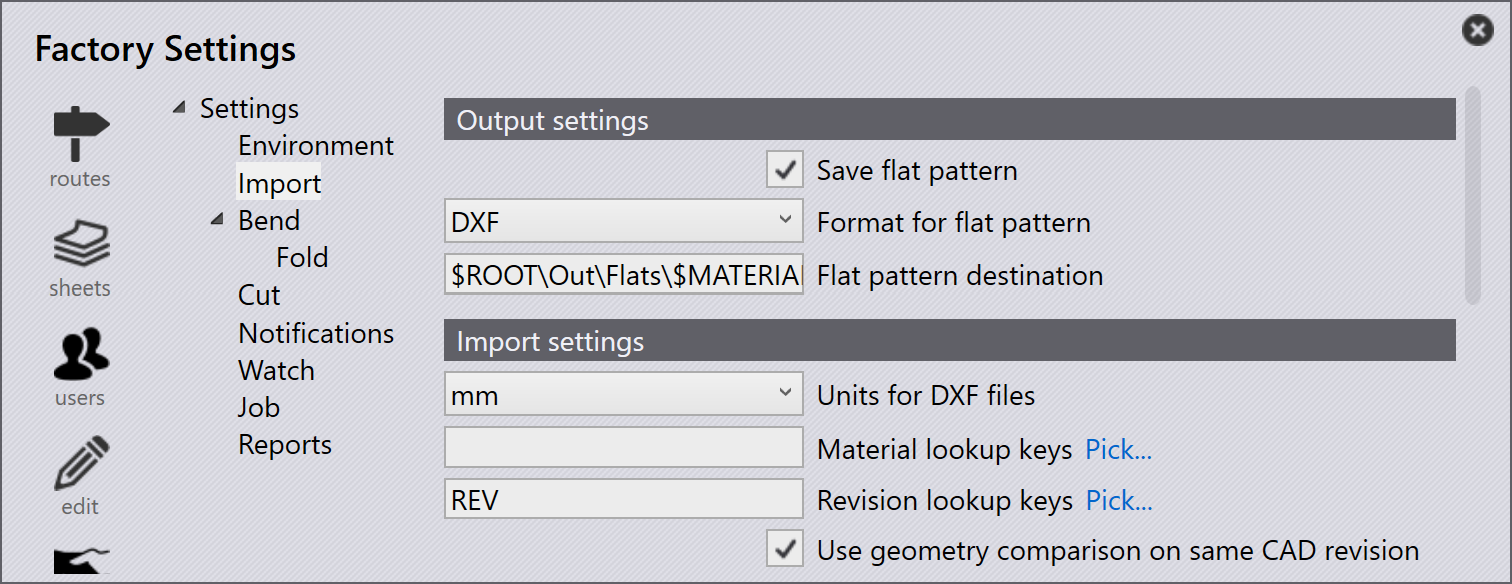
  • To enable this, configure Revision lookup keys (for example, REV) in factory → settings →Import. Then, enable the Use geometry comparison on same CAD revision option.
Revision

Geometry comparison on the same CAD revision works only when Revision lookup keys are configured.
  • Now, import a part into the part library with a specific revision (for example, Revision 1).
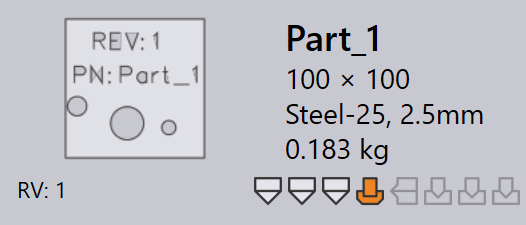
    Part Comparison
  • The same part is imported again with the same revision value.

  • Praxis compares the geometry of the newly imported CAD file with the existing part.

  • If a geometry difference is detected, Praxis displays a prompt asking whether to:

    • Replace the existing part with the new geometry, keeping the same revision value.

    • Skip the import, retaining the existing part and its geometry.
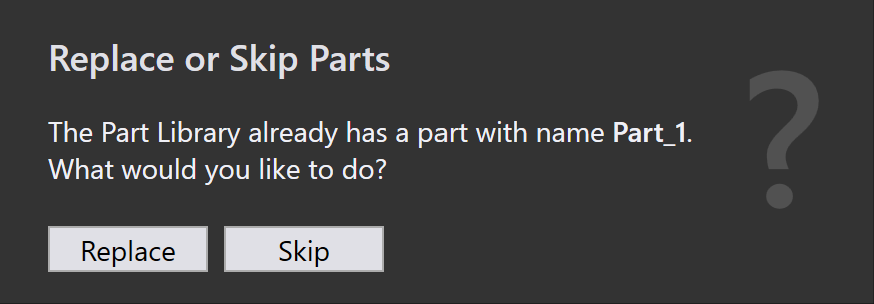
      Comparison

This allows users to update part geometry without changing the revision value, while still maintaining control over whether existing parts are replaced.

Imported parts are automatically added to the library for further use. For more information, see Library.

Contents

  • Import methods
  • Import via file
  • Drag and drop
  • Watch folder
  • Import configuration
  • Use geometry comparison on same CAD revision
Open Import orders

      Copyright © 2025 TRUMPF Metamation. All rights reserved.

    Compiled by Bento