
Job view
This section explains the different views available in the Job view, including Jobs, Parts, Nests, Edit, Simulate and Export.
Jobs
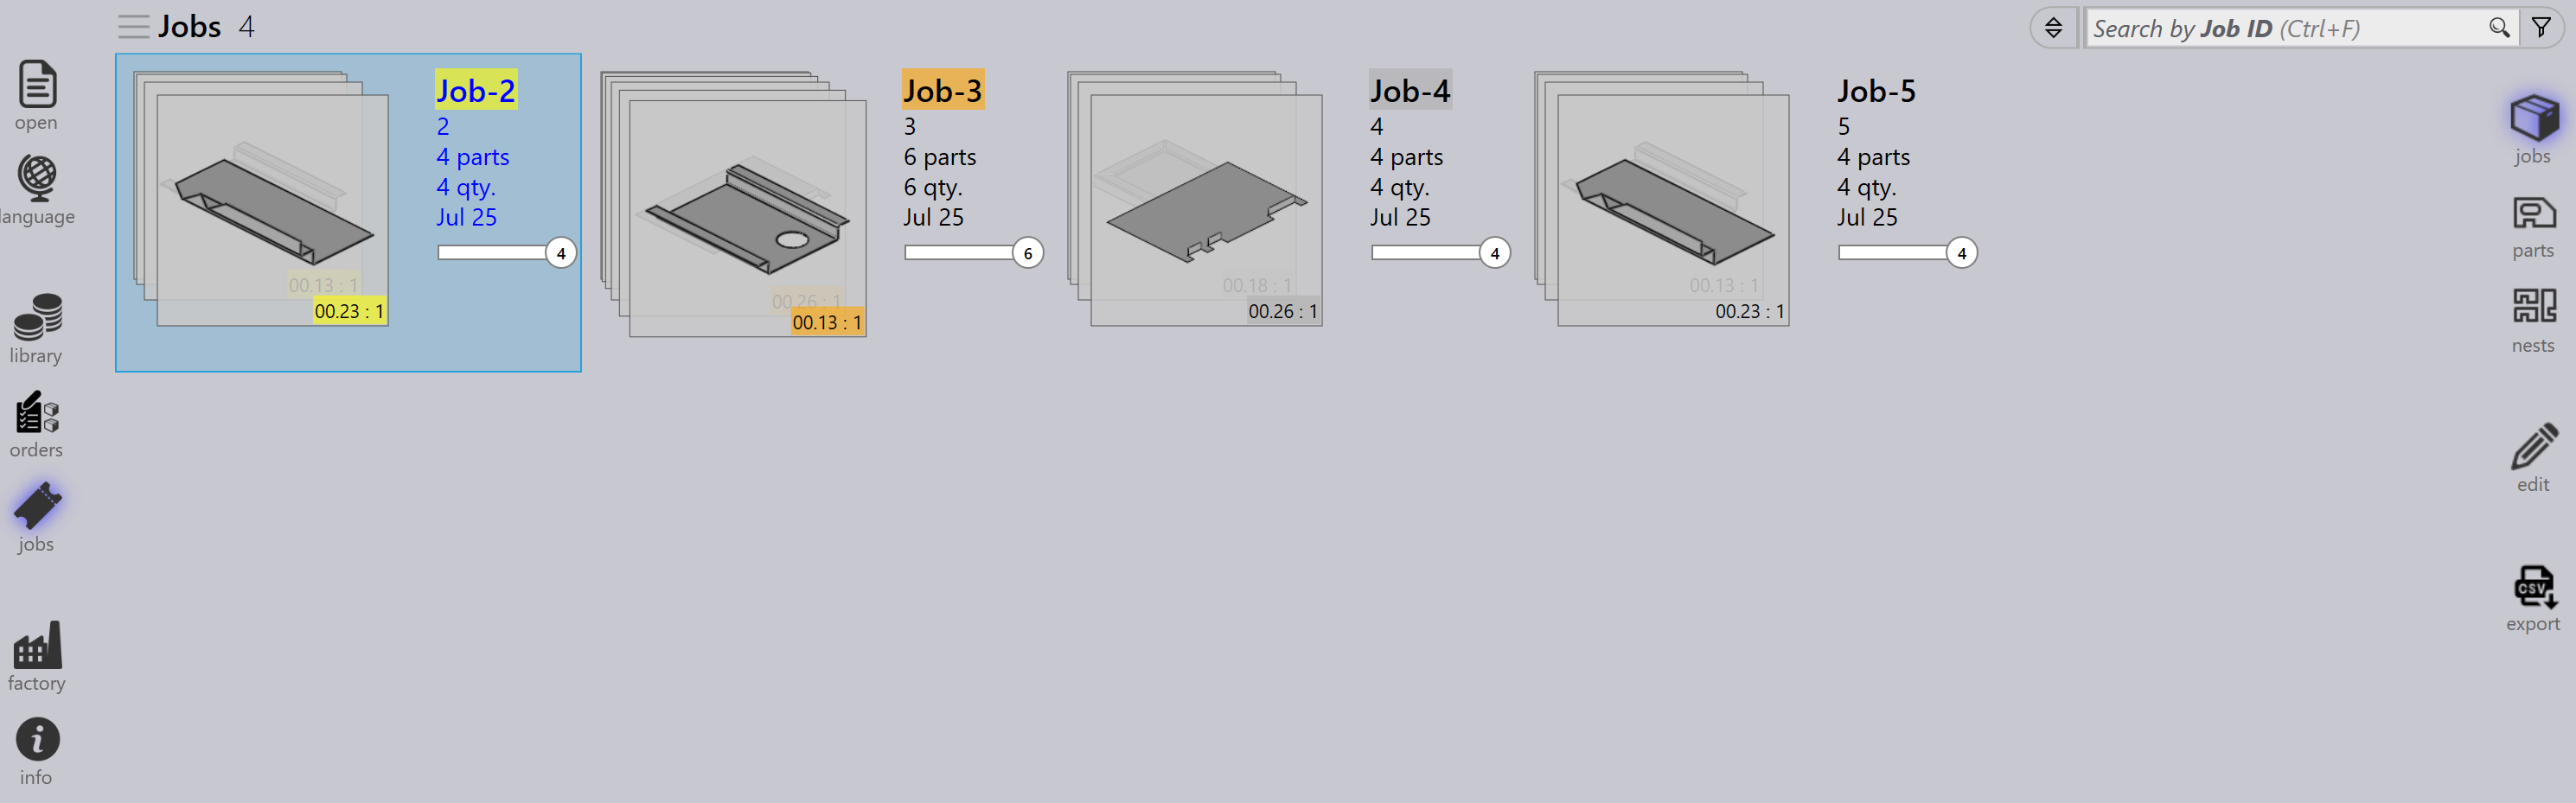
Selecting the jobs option displays a list of all jobs currently set up in the software. You can double-click on a job to view its details or right-click to access additional options.
-
Jobs are displayed in tiles view, where each job is displayed with basic properties like Job ID, Job Ref, Customer name, Total parts, Due Date, Job status bar etc.
-
Each job tile also displays part images in a stacked card format. You can scroll through all parts in a job using the mouse wheel.
Job details
-
Double-clicking a tile or pressing the Enter key after selecting a tile switches the view to Detail Mode.
-
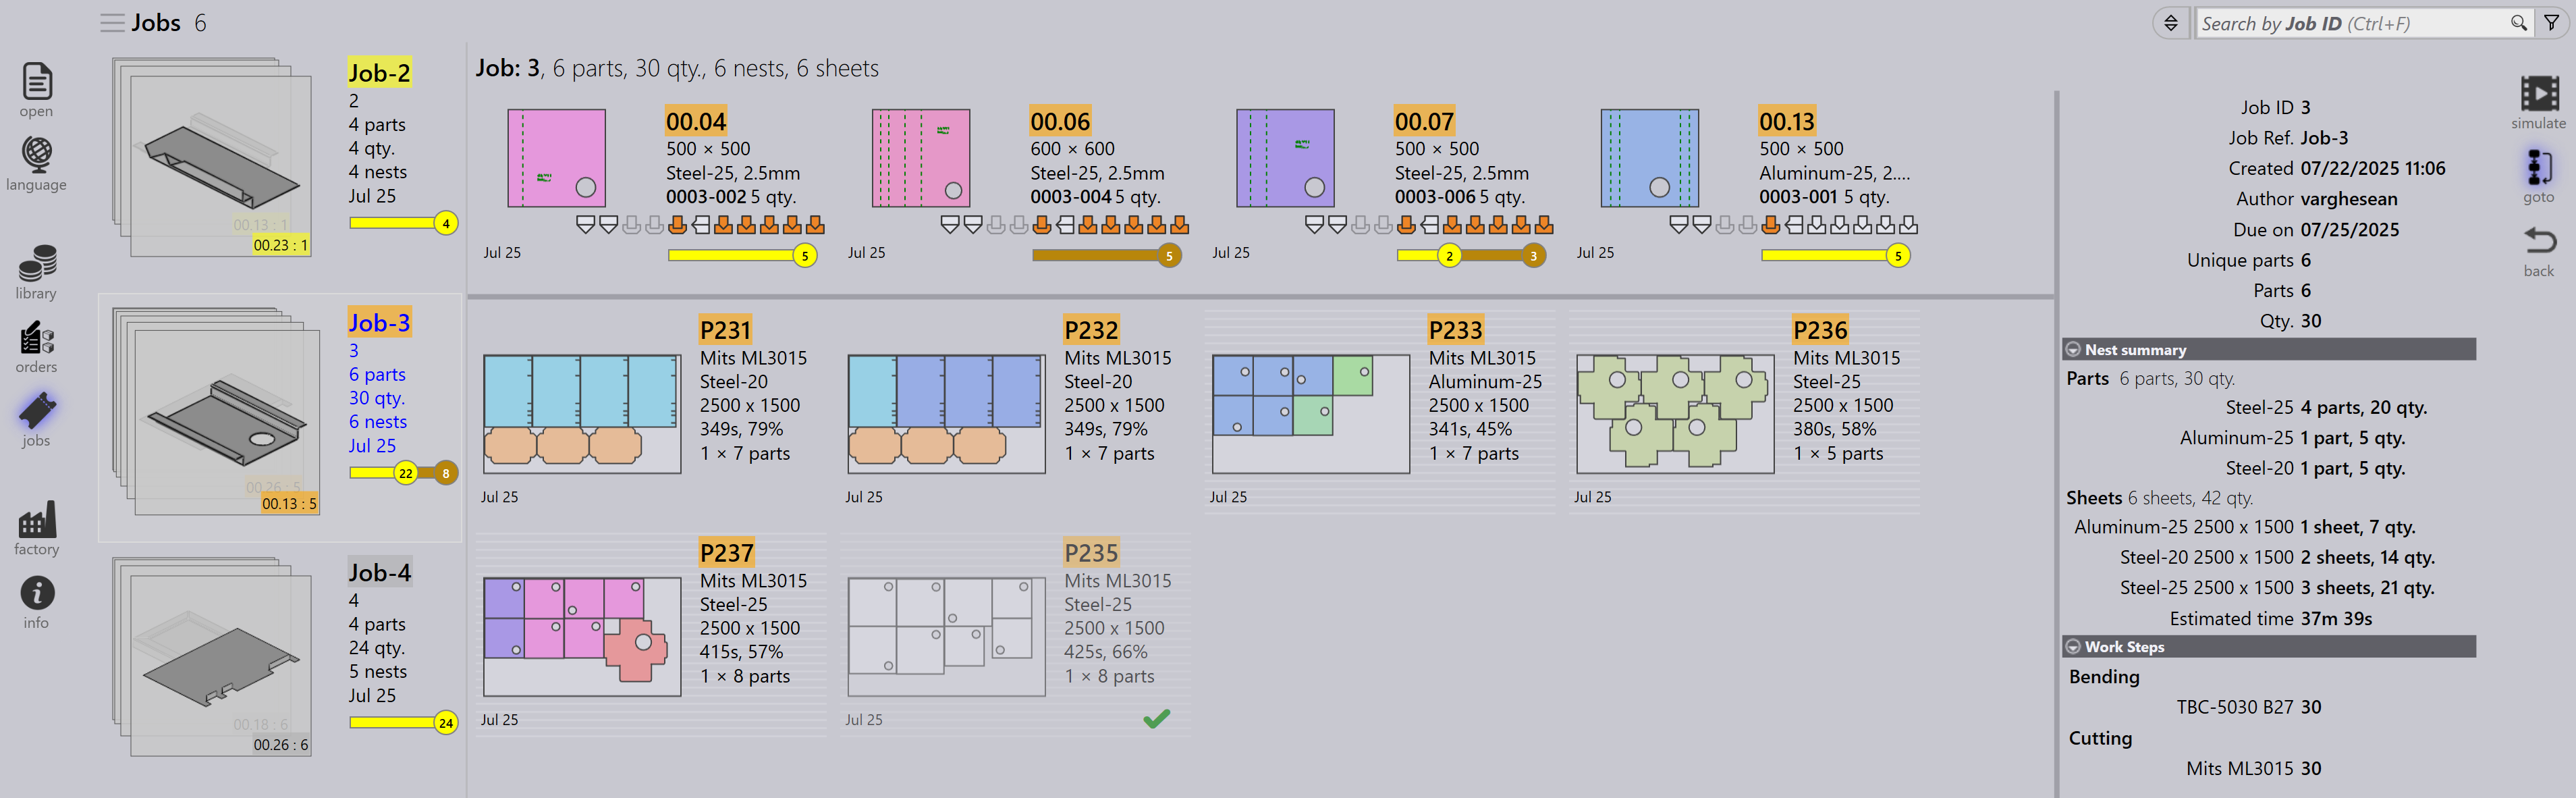
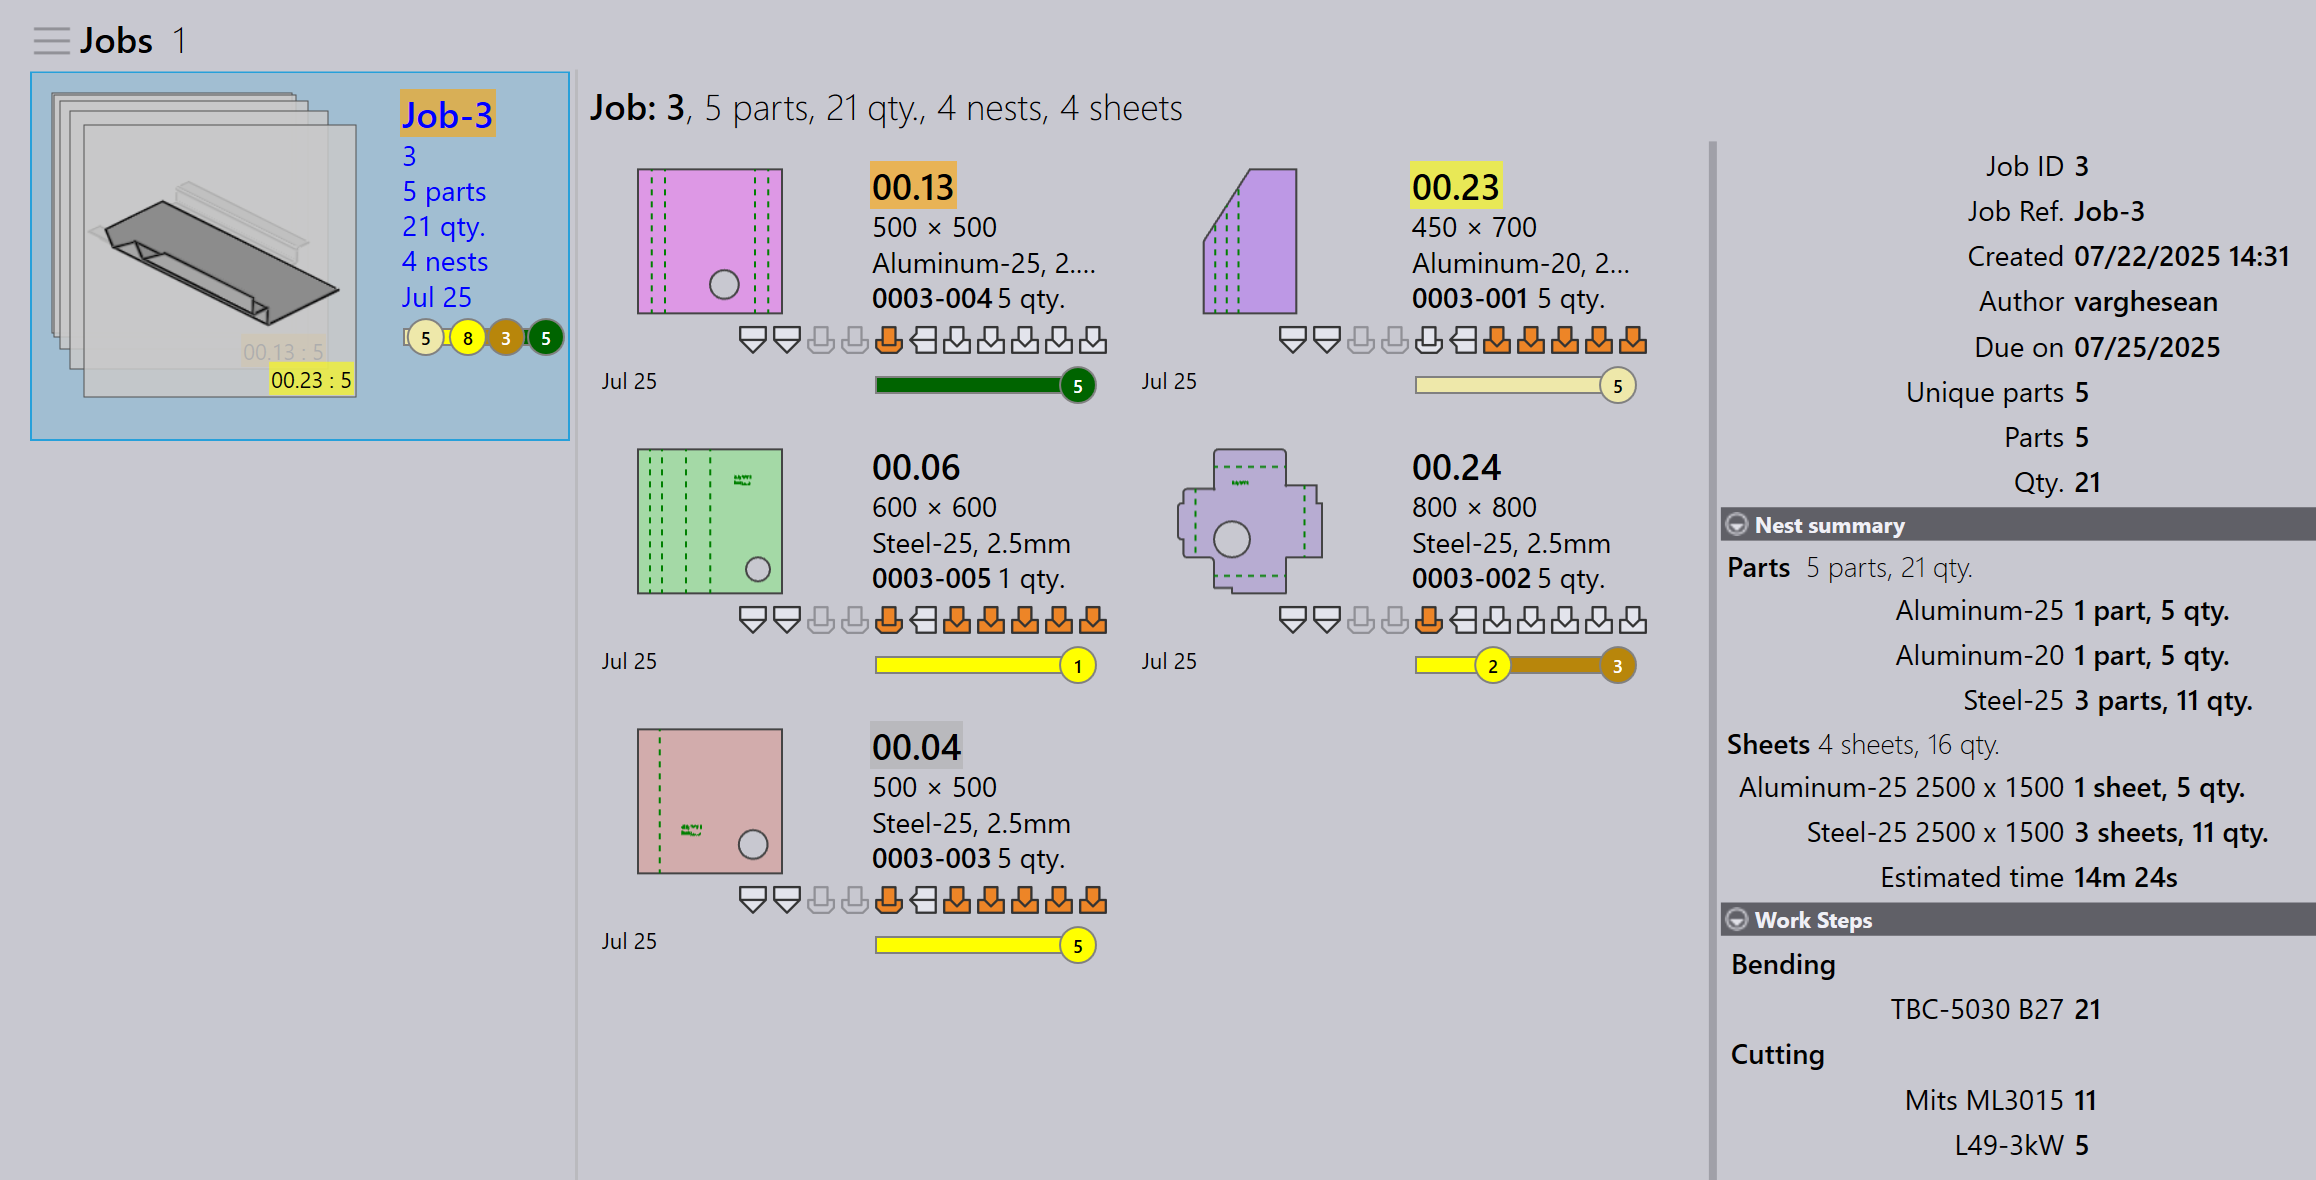
The details page displays the parts list along with the nested sheets (layouts), if any.
-
Use the Up/Down arrow keys to switch between jobs in the details page.
-
Scrolling the mouse wheel over the part stack highlights the part in both the part list and the layouts.
-
Selecting a layout highlights the layout and all parts nested on it in the part list. The highlights automatically turn off after a minute.
-
Nest summary:
-
Parts: Displays the total number of order items and the total quantity in the job.
-
Sheets: Displays the total number of nested sheets along with the total sheet quantity.
-
-
Work Steps:
-
Bending: Shows the machine assigned and its order quantity to be processed.
-
Cutting: Shows the machine assigned and its order quantity to be processed.
-
Priority
-
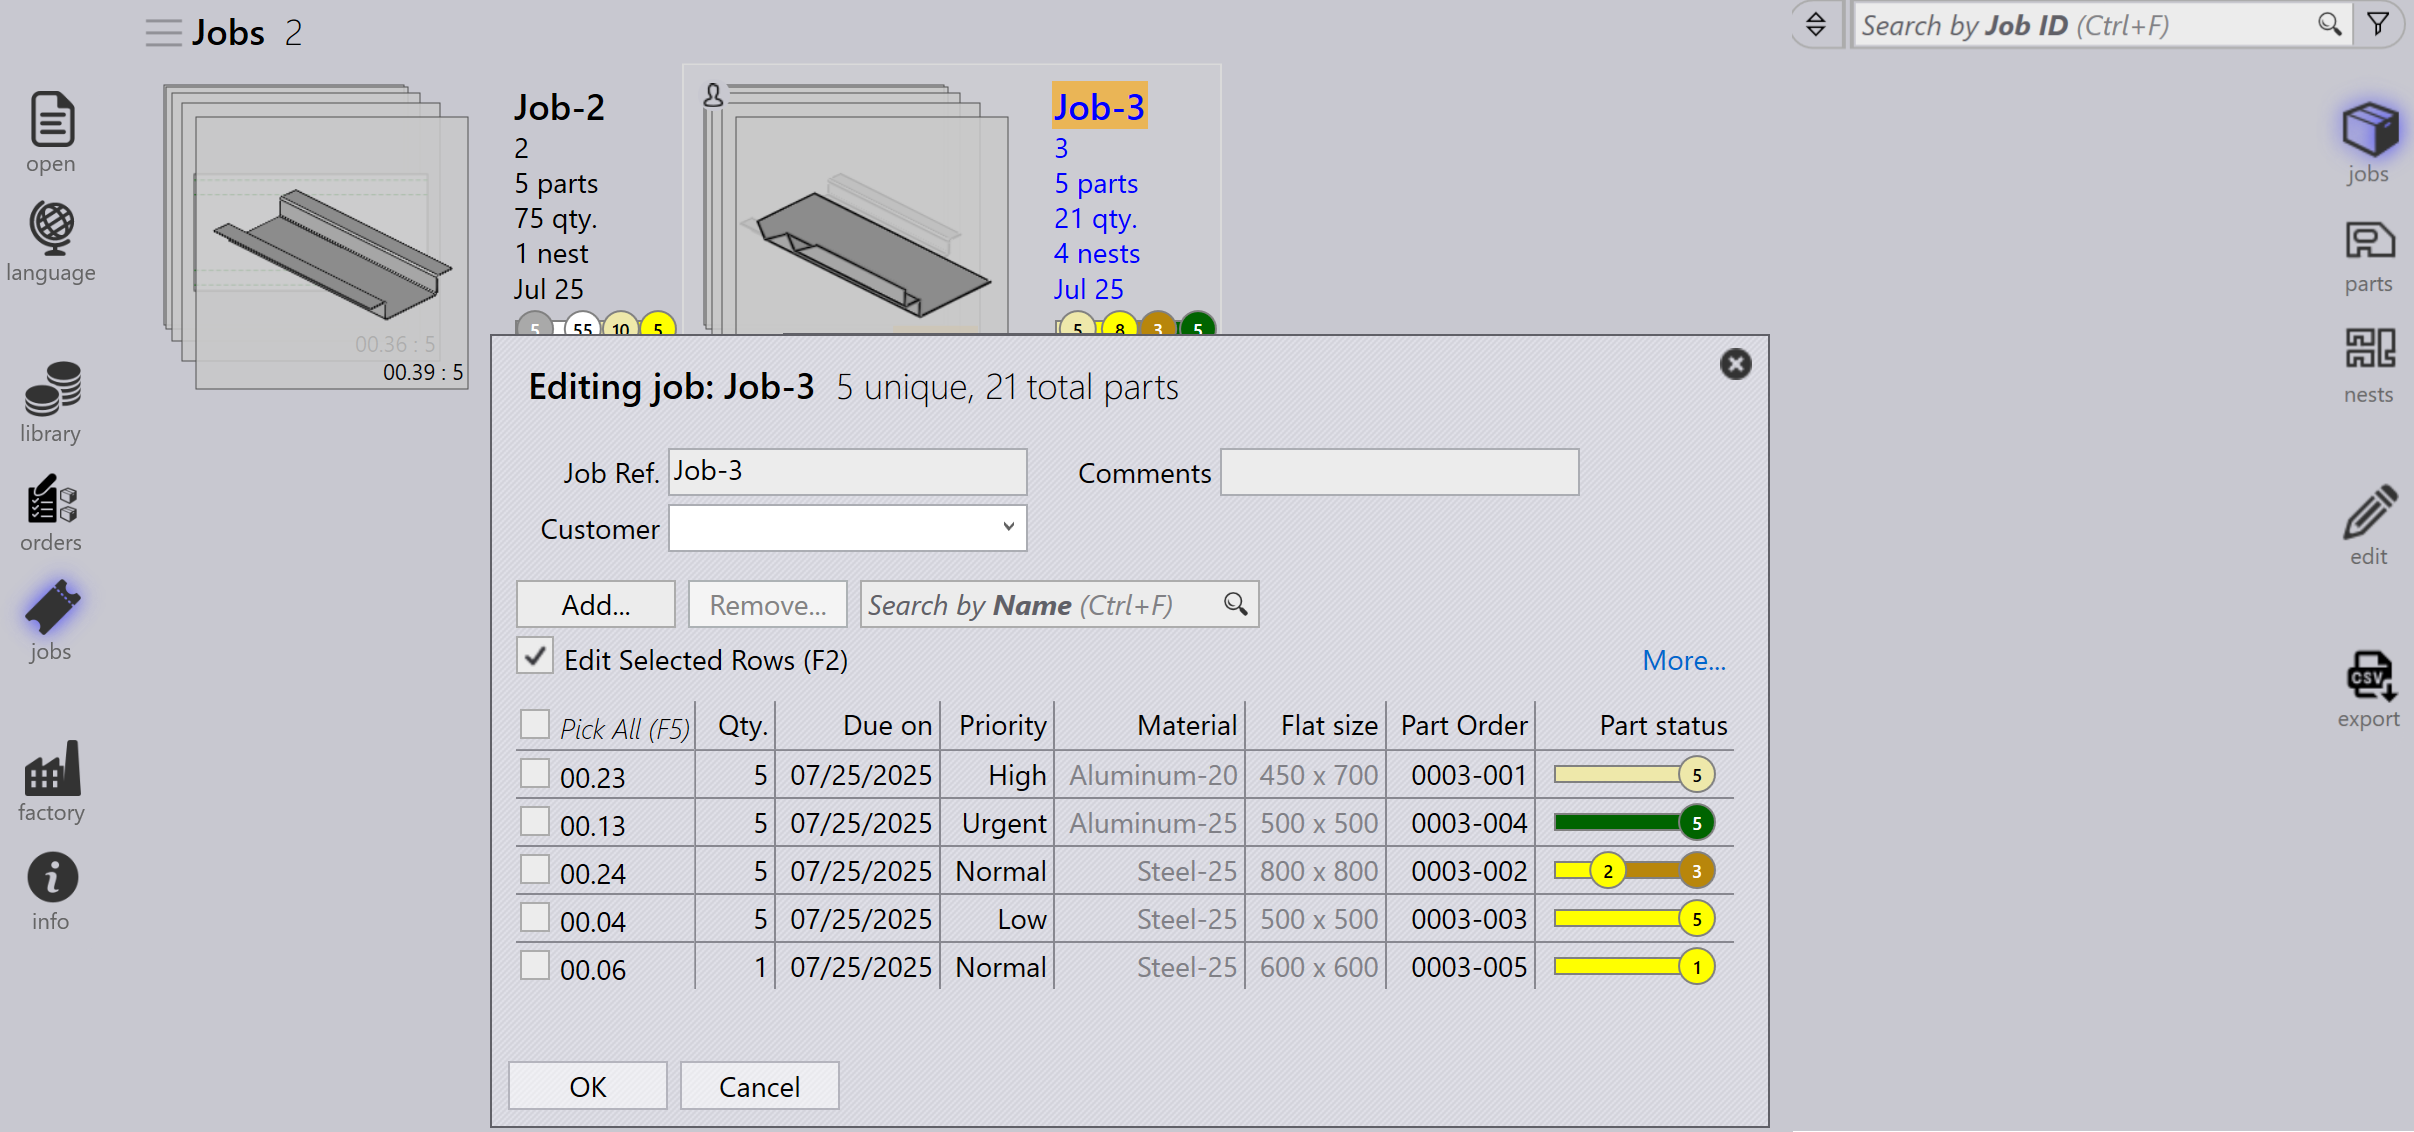
First, click the Jobs icon on the left side of the screen, select the job you want to edit, and then click edit on the right side of the screen (make sure the Jobs option is selected).
-
Alternatively, right-click on the selected job and click the Check-out the document for editing icon.
-
When you click edit, the edit job window appears. In this window, you can set or change the priority for the job.
-
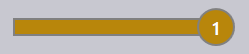
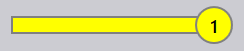
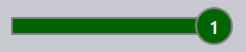
Based on the job part priority, the job Reference in the job tile is color-shaded accordingly.
-
Job Parts are sorted first by priority and then by due date. They are also color-shaded according to their priority.
-
When nesting, Urgent parts are considered first, followed by High, then Normal, and finally Low priority parts are placed in the remaining space on the nest sheets.
-
Nest sheets are also sorted and color-shaded according to priority.
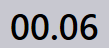
| Job priority | Color description |
|---|---|
|
Urgent |
|
Normal |
|
High |
|
Low |

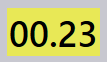
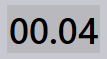
Status
-
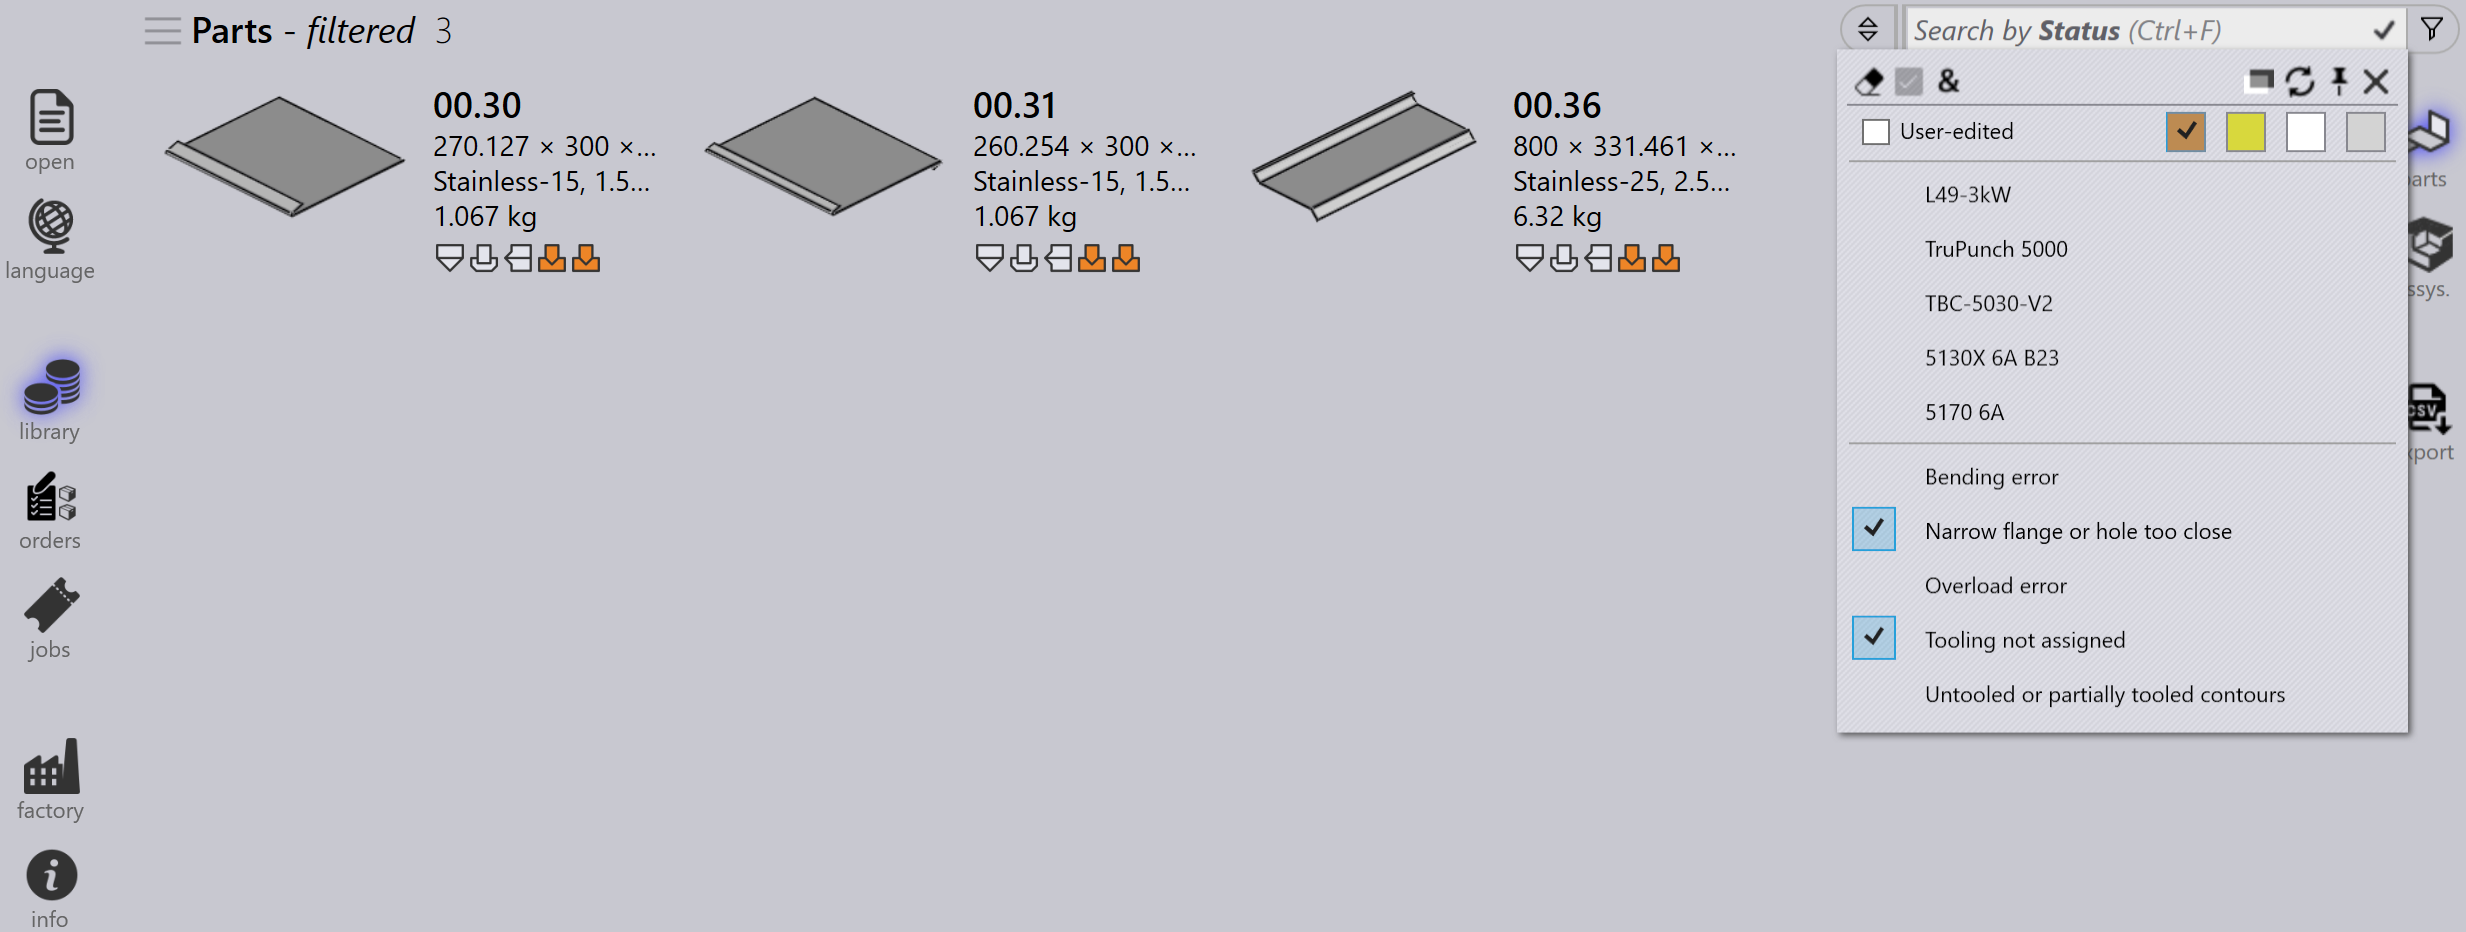
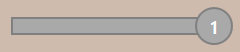
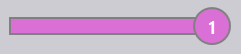
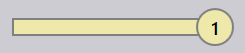
The Job status bar uses color codes to indicate the progress or condition of the job based on the quantity processed or remaining.
-
The parts within the job and the nest sheets are also highlighted with matching colors to reflect their individual status within the overall JOB.
-
Color coding improves tracking and ensures that operators can easily see the production status at a glance.
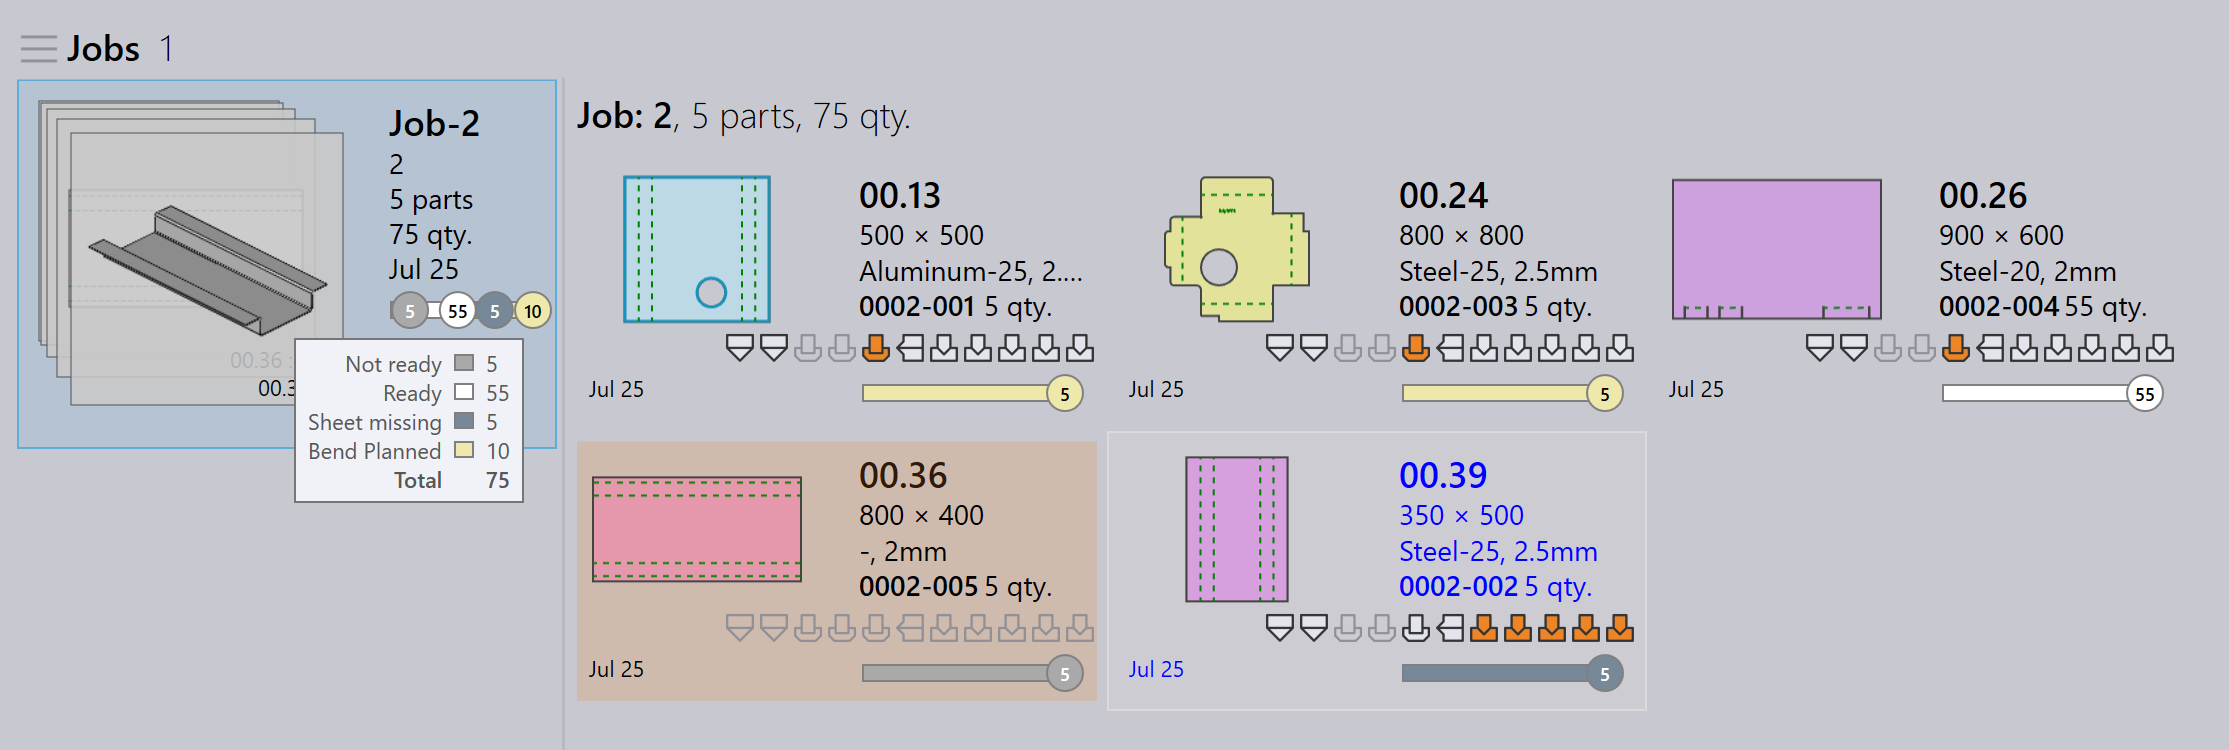
| Job Status | Description |
|---|---|
|
Not ready |
|
Nesting |
|
Ready |
|
Bend Planned |
|
Sheet missing |
|
Bending queue |
|
Cutting Queue |
|
Done(Completed) |


Parts
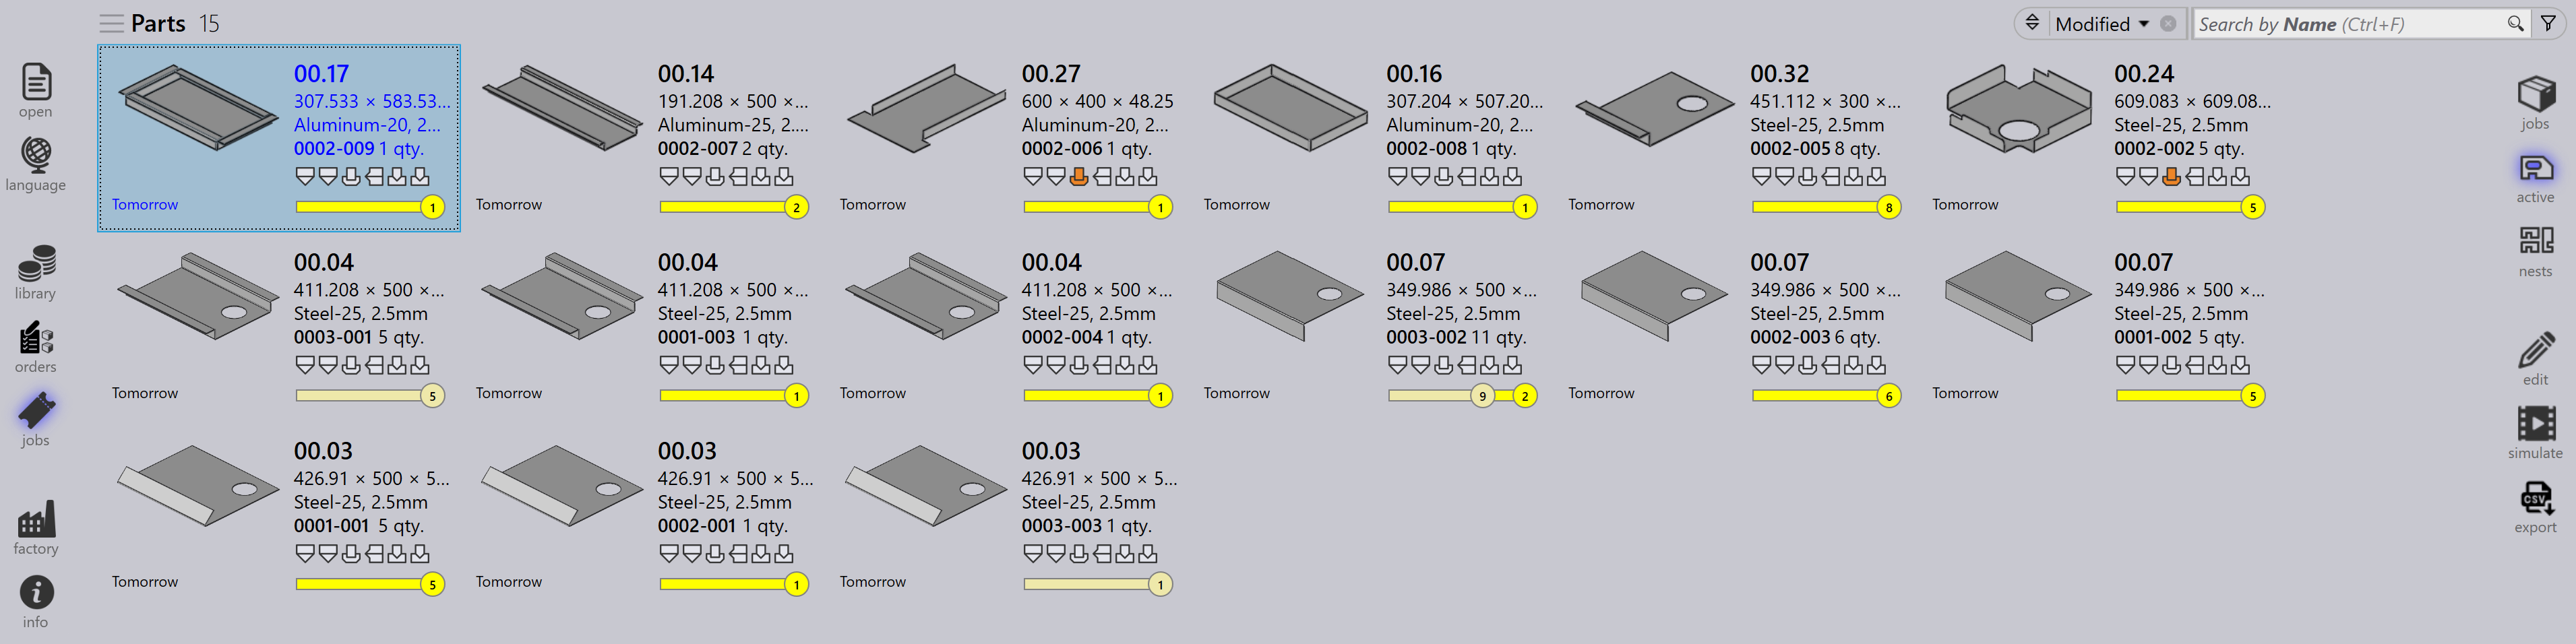
The Active Parts view displays all parts that are currently in progress within active jobs.
Each part is represented as a tile showing key details such as part name, dimensions, material, thickness, quantity, and due date. A visual preview of the part is also displayed.
This view helps users monitor the processing status of individual parts and track their progress across ongoing jobs.
Nests
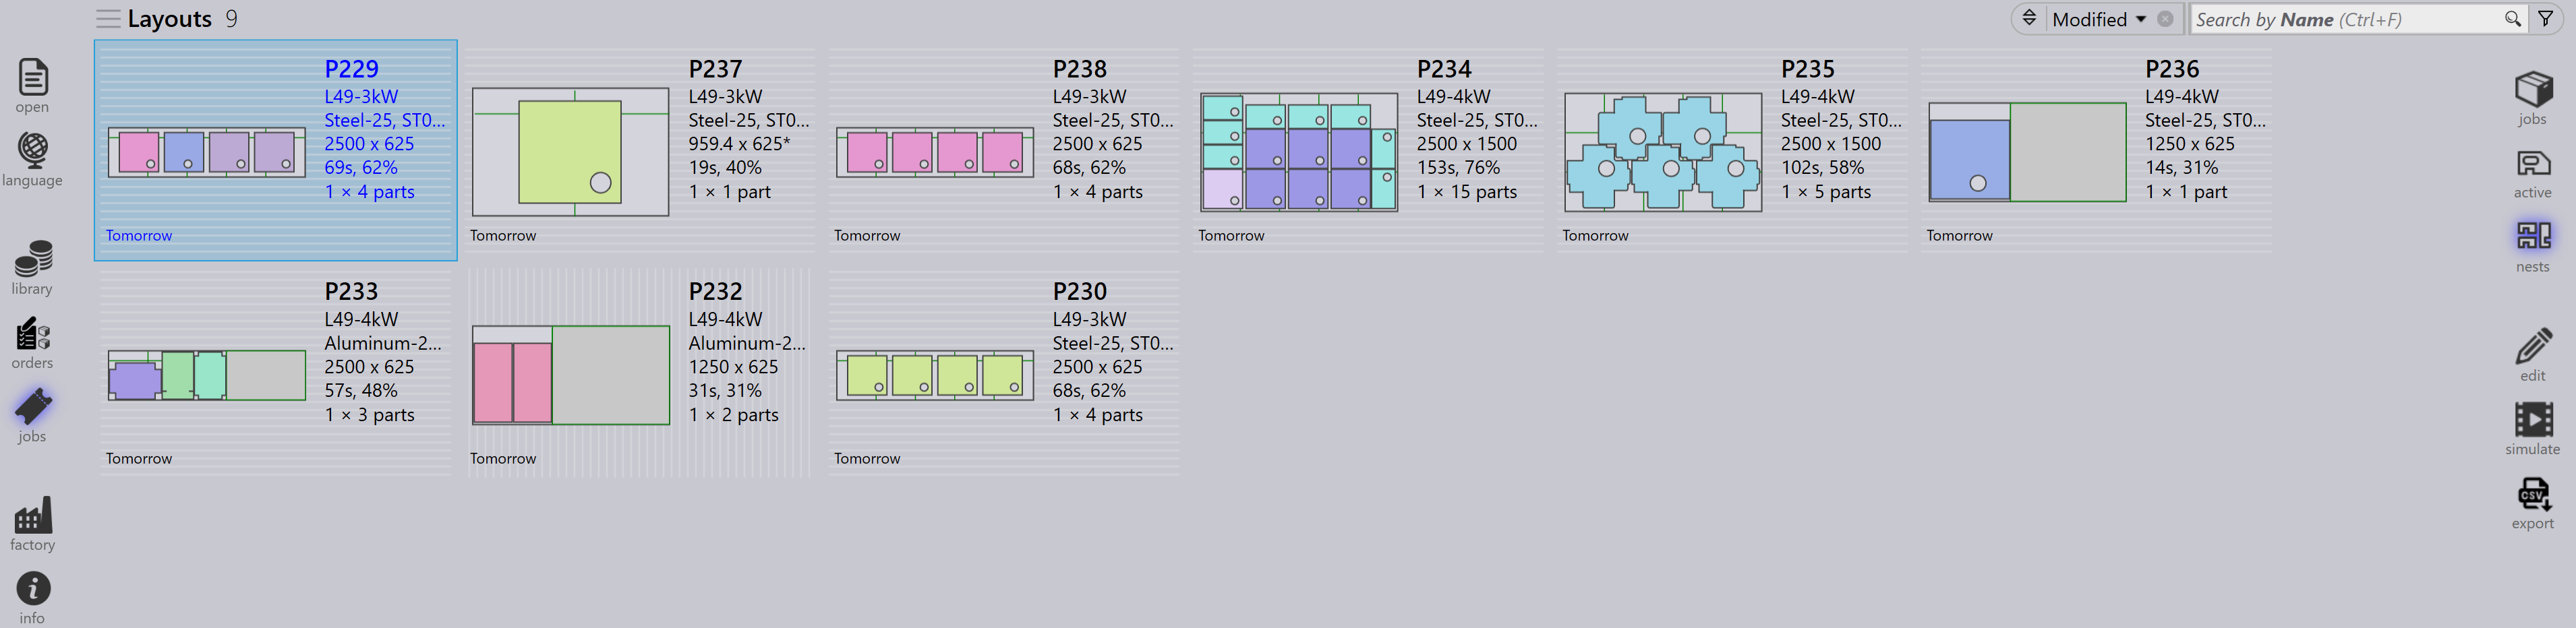
The Active Nests view displays all nests that are currently in progress within active jobs.
Each nest is represented with relevant details such as number of parts, and processing status. A visual layout of the nested parts is also displayed.
This view helps users monitor nesting progress and track how parts are arranged and processed on sheets.
Edit
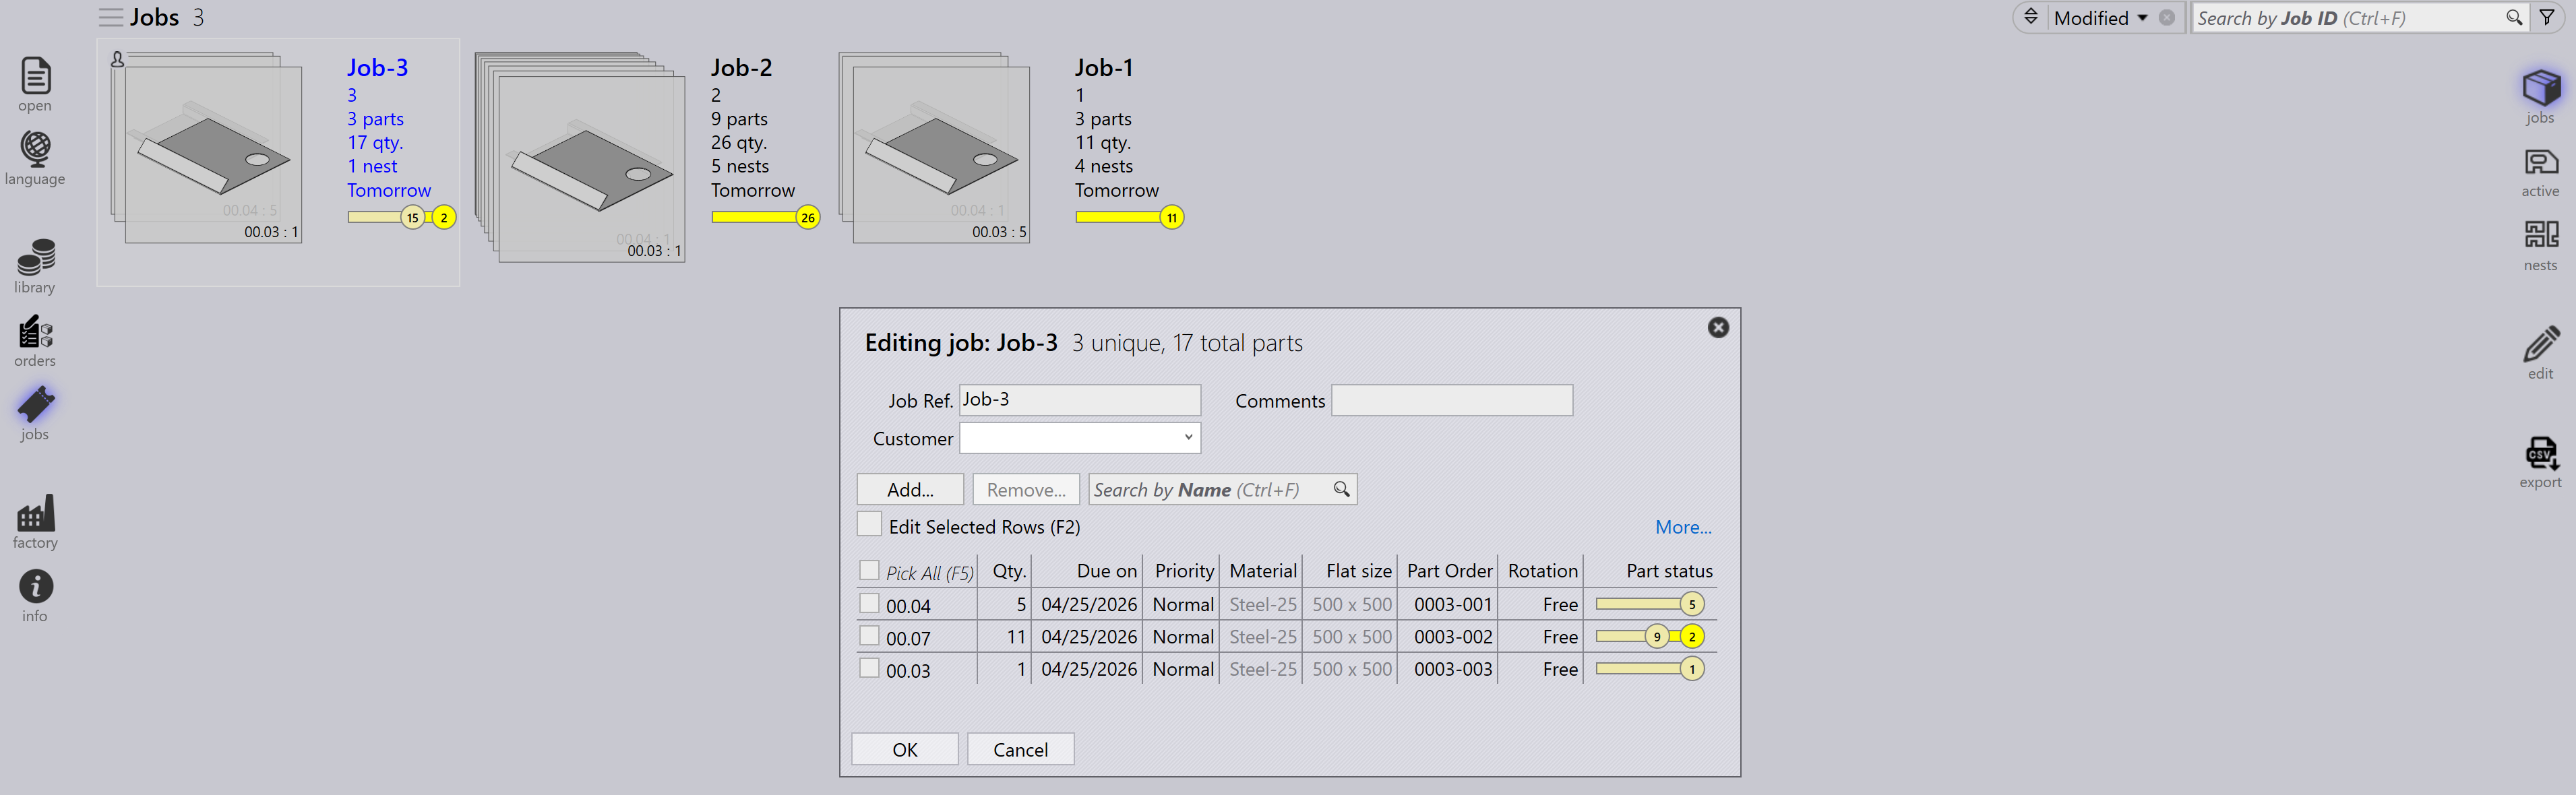
The Edit option allows you to modify the selected item.
Based on the current view, the selected instance is opened for editing:
-
In Jobs view, the selected job is opened for editing.
-
In Active Parts view, the selected part is opened for editing.
-
In Active Nests view, the selected nest is opened for editing.
Export csv
The Export option lets you select job information and export it to a CSV file.
-
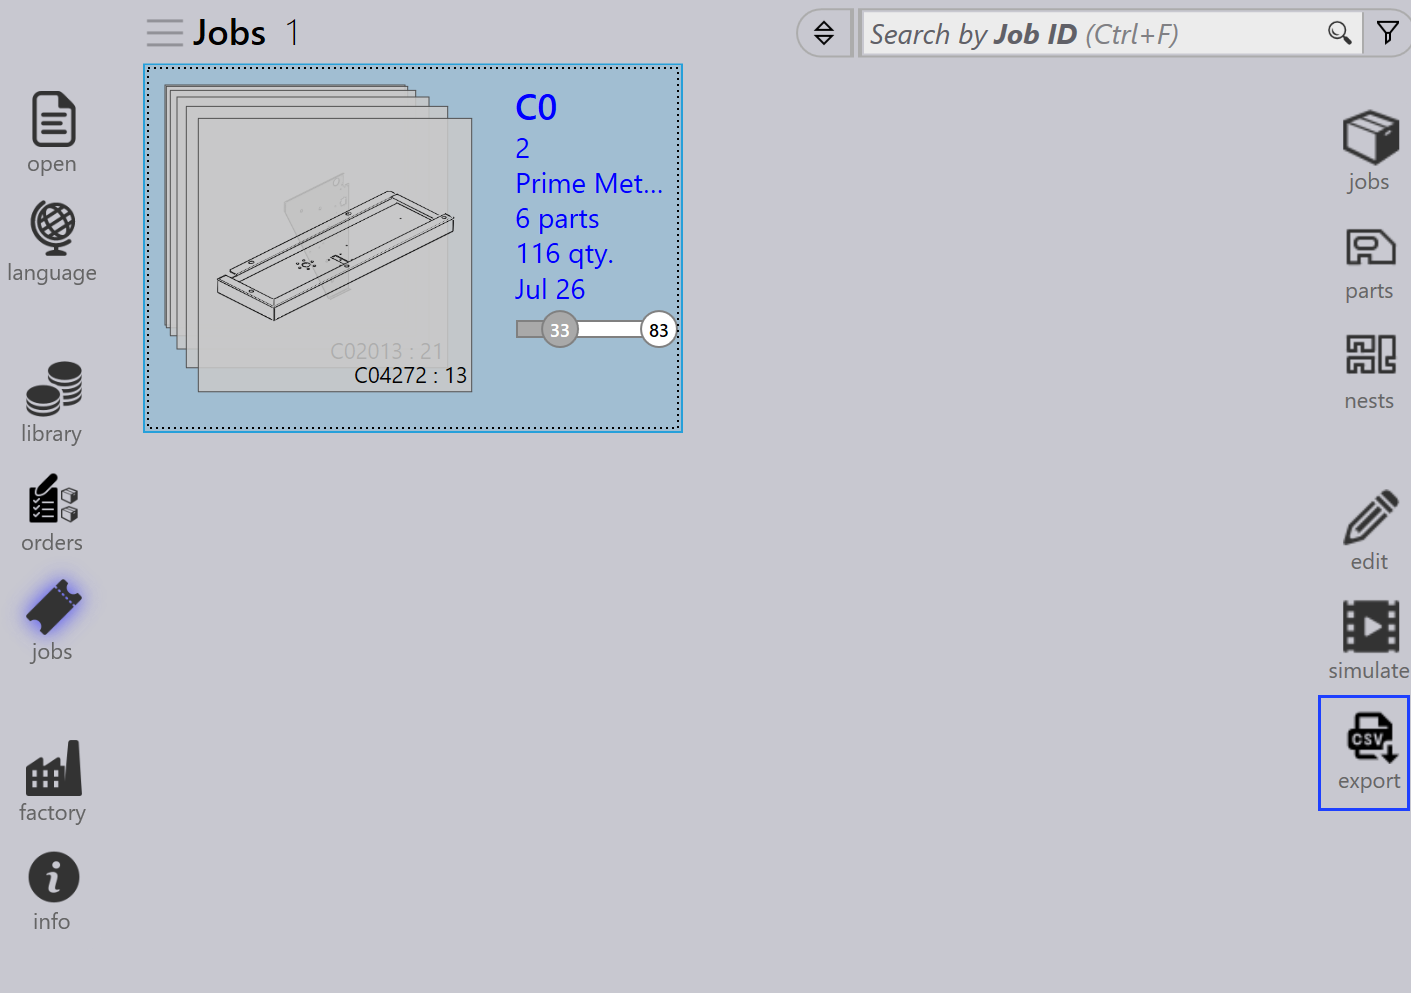
Click the jobs icon.
-
Click the export option on the right side of the screen.
-
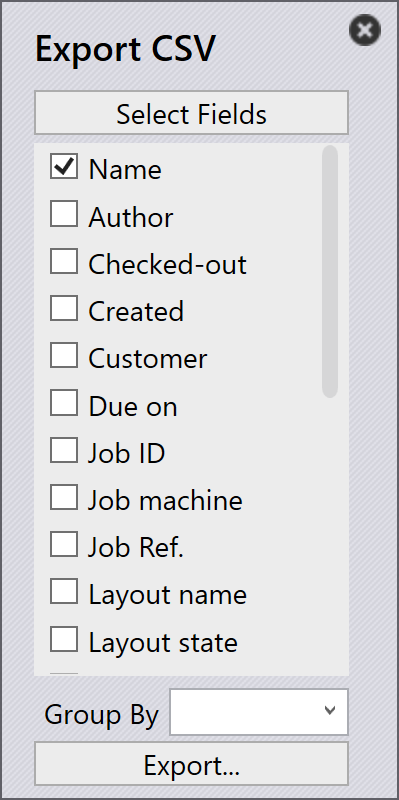
A dialog box appears showing available fields:
-
Select the checkboxes for the fields you want to export.
-
Use the Group By option if you want to group the data by a selected field.
-
Click Export to generate the CSV file.
Additional information
There is also three additional icons on the right of the screen which are Simulate, Goto and Back.
-
Simulate will open the selected item for a more detailed view.
-
Goto will switch the focus and display on the part or the nest that is selected.
-
Back will go back one level from where you currently are, for example clicking Back while in simulation will take you back to the main job and from a job will take you back to the main jobs display.