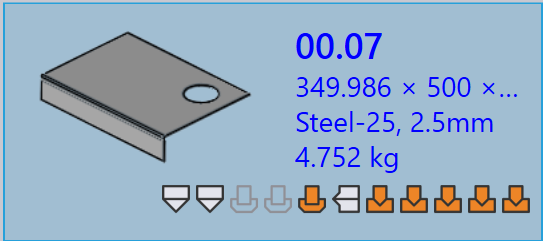
Part panel
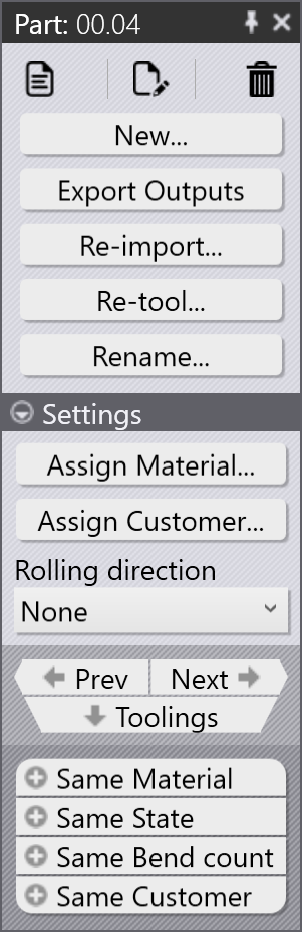
This section explains part-related actions such as Re-import, Re-tool, Rename, Export outputs, etc., used to manage part instances.
|
|





Re-import
-
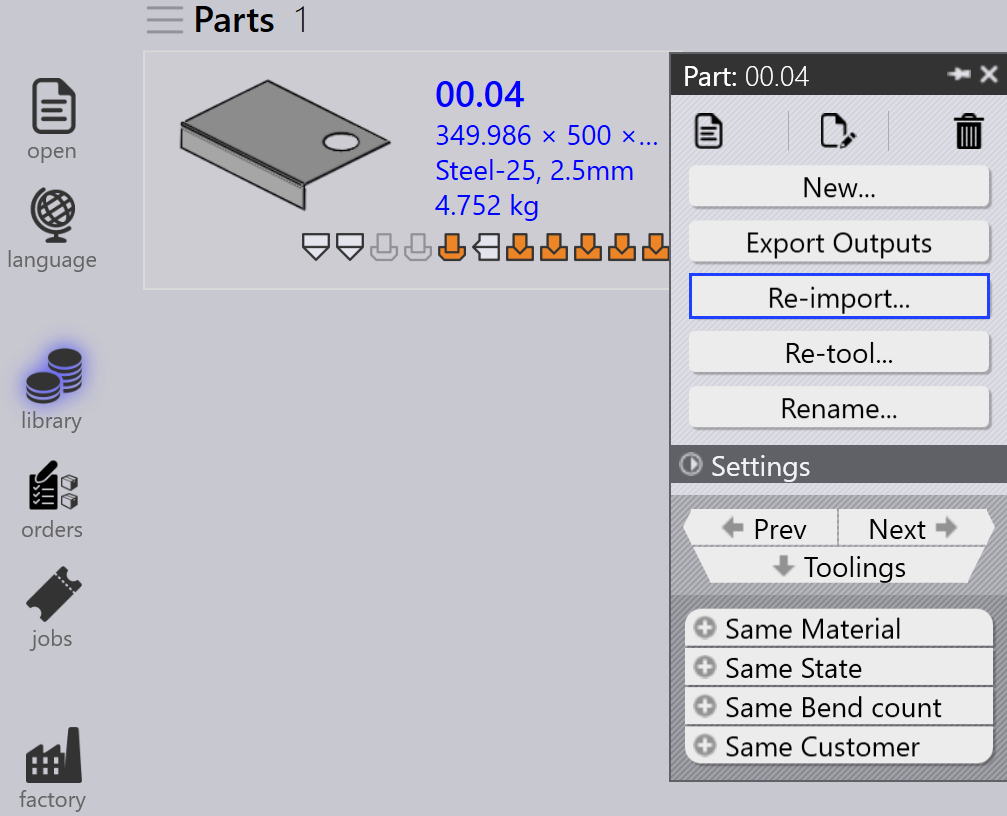
Right-click any part and click Re-import….
-
All selected part tooling instances across all machines are cleared including auto-tooled and manually tooled instances.
-
Existing output files (CAD, Bend, and Cut) are removed.
-
Parts are re-imported, and fresh CAD validation and tooling are applied for all machines.
-
New output files are created based on the updated tooling result.
Re-tool
-
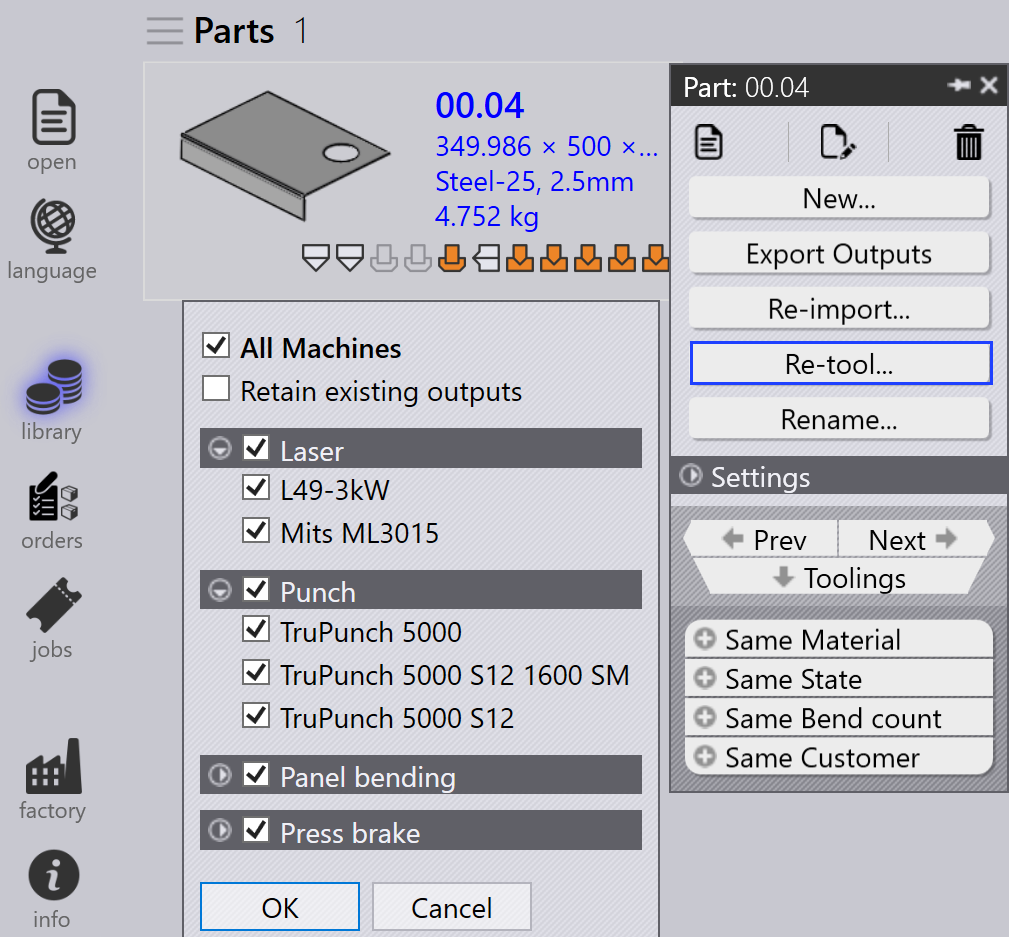
Right-click any part and click Re-tool….
-
All machines are checked on by default and grouped as Laser, Punch, Panel, and Press brake.
-
Click OK to proceed. This removes both auto-tooled and manually tooled instances for the selected machines, and deletes related output files.
-
When Retain existing outputs checkbox is selected, only parts whose outputs were removed earlier will be retooled, other outputs remain untouched. If unchecked, all output files for selected machines are removed and regenerated during retooling.
|
Rename
This section explains how to rename one or multiple parts in Praxis.
-
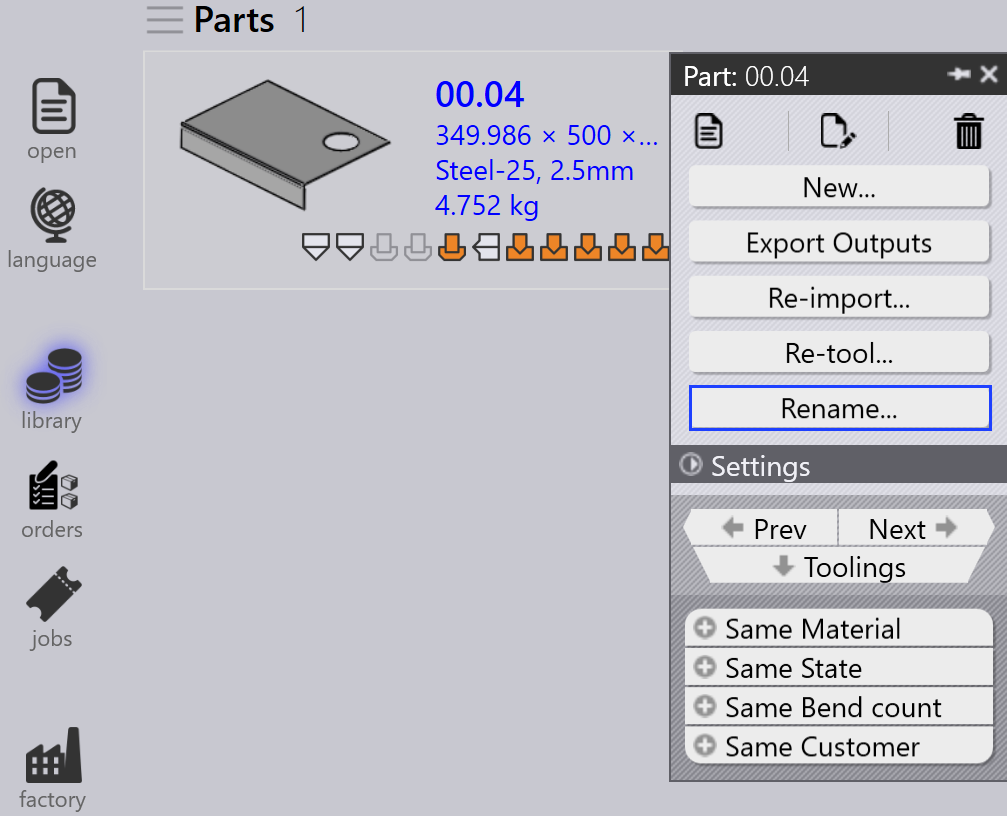
Right-click the part and click Rename….
-
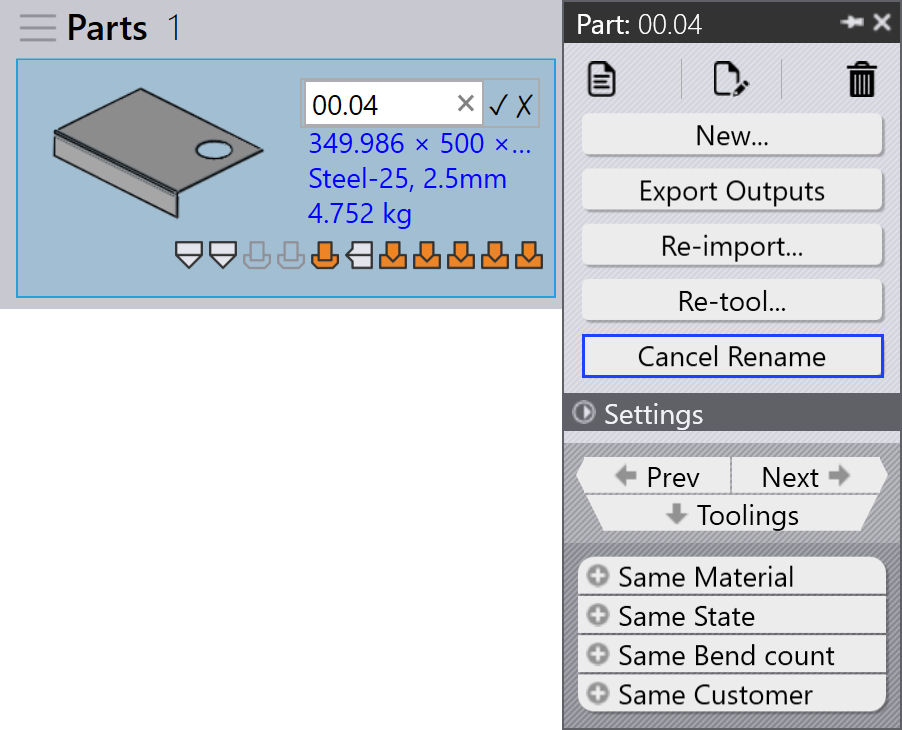
A rename confirmation dialog appears showing the current part name.
-
Enter the new name and click the tick ✓ icon to confirm, or click the cross ✗ icon to cancel the rename operation.
-
To rename multiple parts, select all required parts, then right-click any one of them and click Rename….
-
A confirmation dialog appears with the total number of selected parts.
-
For each part, enter the new name and click the tick ✓ icon to confirm one by one.
-
If any part was mistakenly selected, click the cross ✗ icon to cancel. Alternatively, you can right-click the part and click Cancel Rename to skip renaming.
Export outputs
This option exports the part output to the destination configured in Factory Settings. (See Bend Settings and Cut Settings)
The output location is defined separately for Bend, Fold, and Cut in their respective output settings. All toolings associated with bend, fold, and cut operations are exported for the entire part.
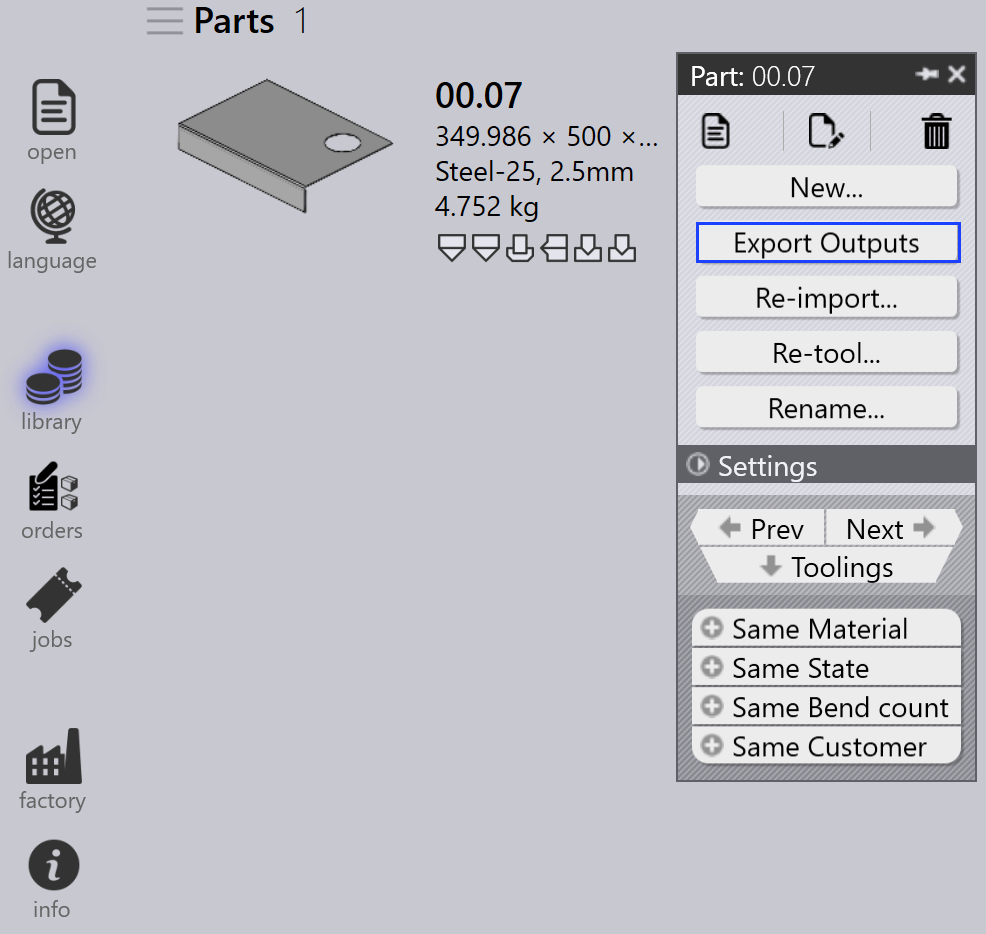
As shown below, the exported files are saved in the specified folder
(for example, C:\PraxData\Out\Reports).
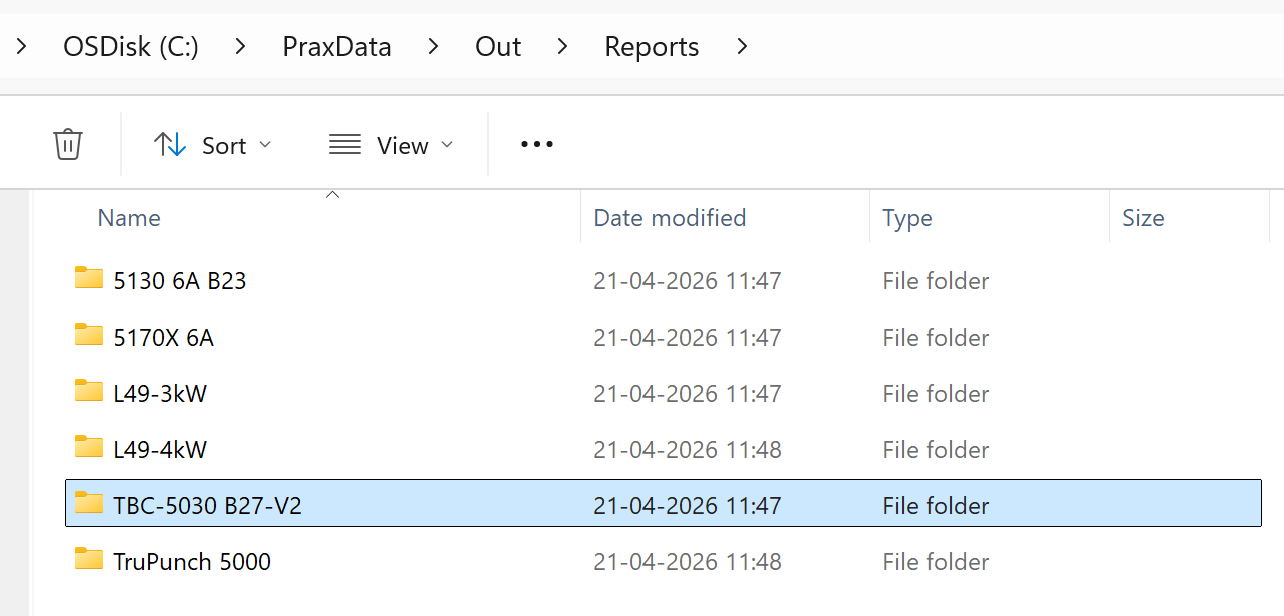
| The exported files depend on the operation type. For Bend and Fold operations, NC files and reports are generated. For Cut and Punch operations, only the part files are exported. |
Part assign material
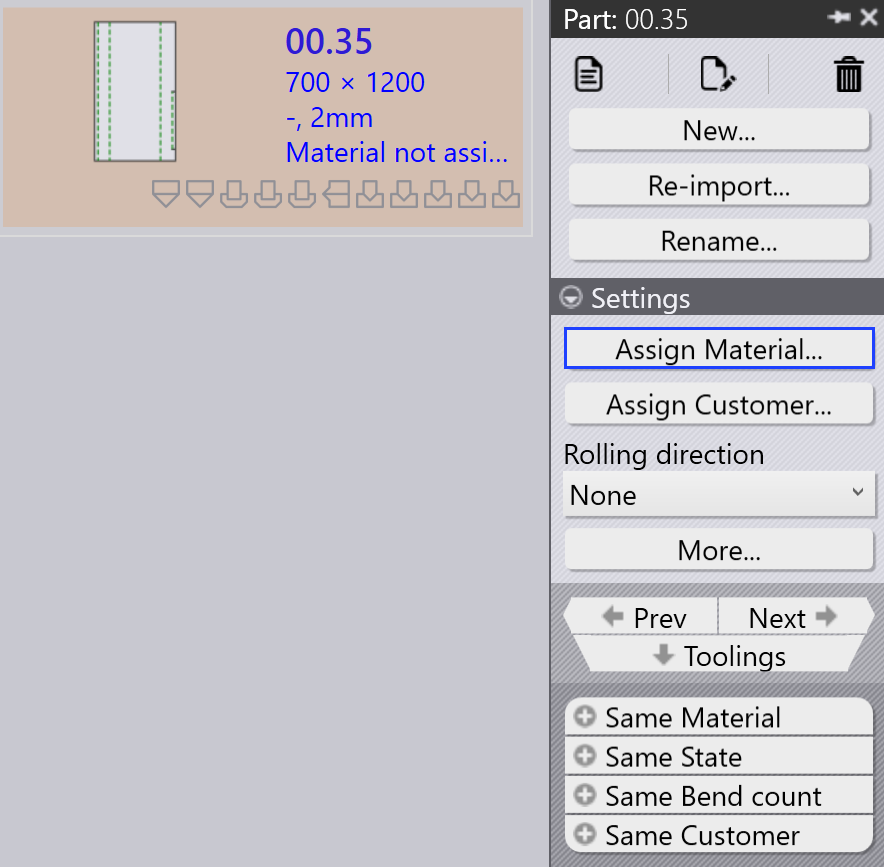
Parts with the status Material not assigned need to be updated before further processing. The steps below explain how to assign material.
-
Right-click the part that displays the status Material not assigned and select Assign Material….
-
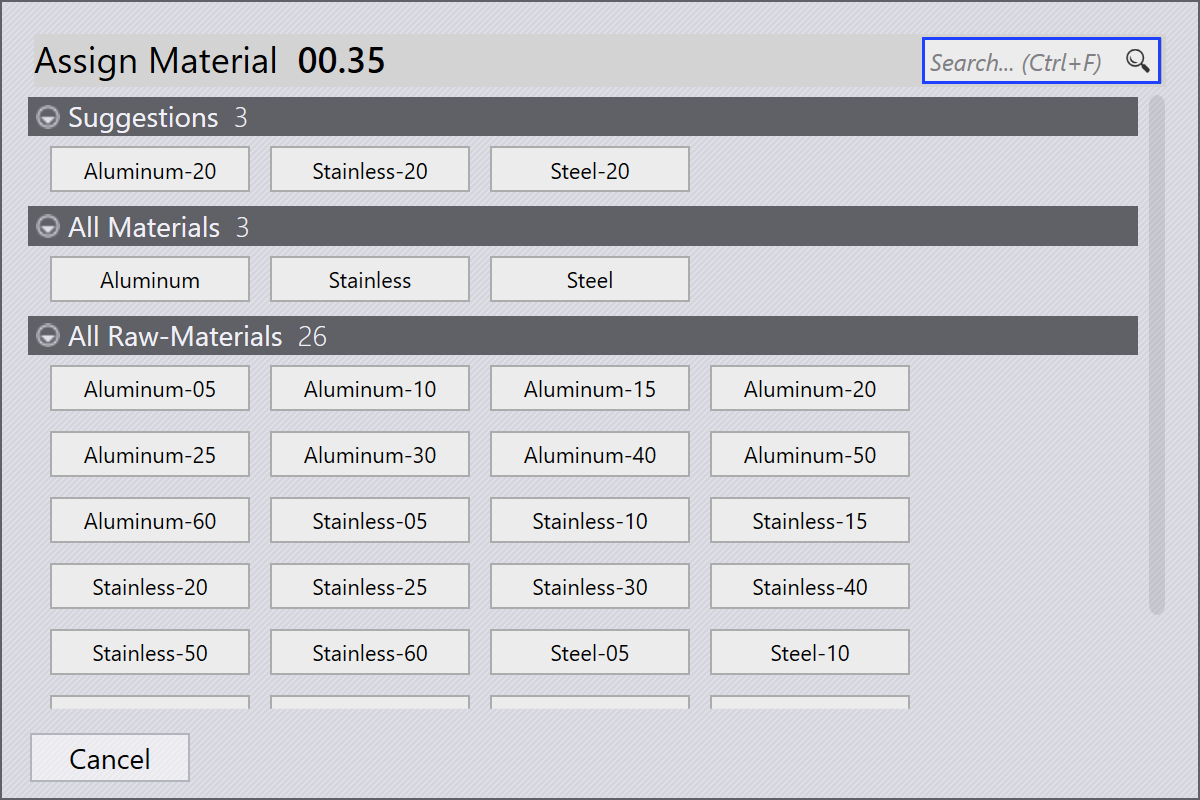
The Assign Material window opens.
-
The dialog has four sections:
-
Suggestions - Automatically suggests raw materials based on the imported part’s thickness.
-
All Materials - Lists all material types defined in Praxis.
-
All Raw-Materials - Displays all raw materials available in the system.
-
Used Raw-Materials - Displays the most recently used raw materials for quick access.
-
-
You can use the Search field at the top to quickly find materials. For example, type "steel" to display all matching materials across the three sections.
-
From the filtered list, select the required material (e.g., Steel-25) from the Raw-Material list.
-
The selected material will be assigned to the part.
Rolling direction
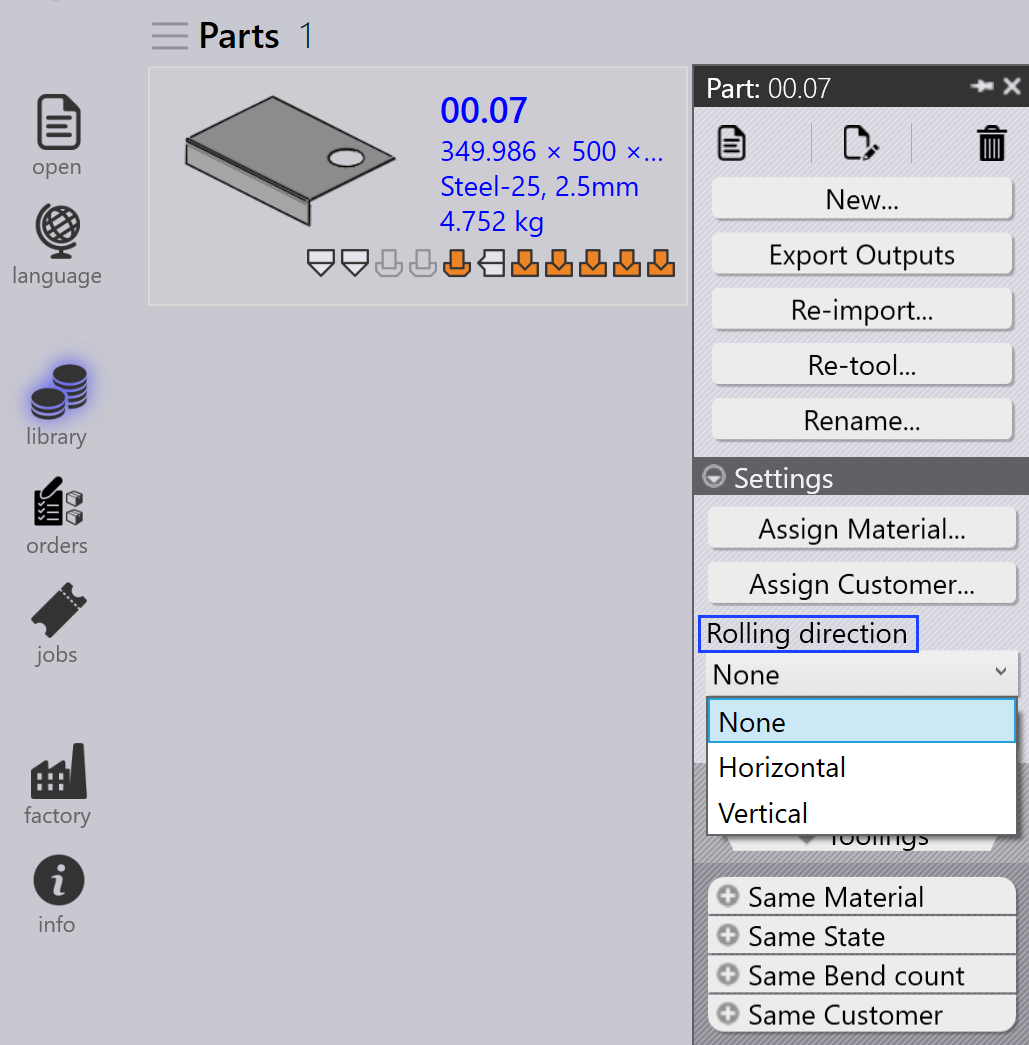
Rolling direction refers to the orientation of the grain in a part, which can affect how the part is cut and processed. This option allows you to specify the Rolling direction for a part in the Part Library. Based on the selected direction, the part will be placed in the correct orientation for cutting on the available machines.
-
Right-click any part tile in the Part Library or Job window.
-
Select the preferred rolling direction:
-
None
-
Horizontal
-
Vertical
-
-
The part gets retooled automatically for all available cut machines based on the selected rolling direction.
-
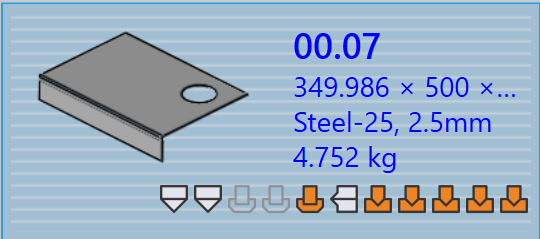
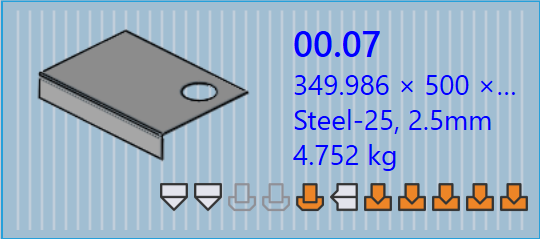
The part tile will display the selected rolling direction as shown below: