Workflow
Praxis is a Manufacturing Execution System that manages and optimizes sheet metal manufacturing processes. A workflow in Praxis consists of a series of steps that you follow to complete a specific task or process. You can customize the workflow to fit different manufacturing processes and adapt it to your specific needs. The workflow in Praxis typically includes the following steps:
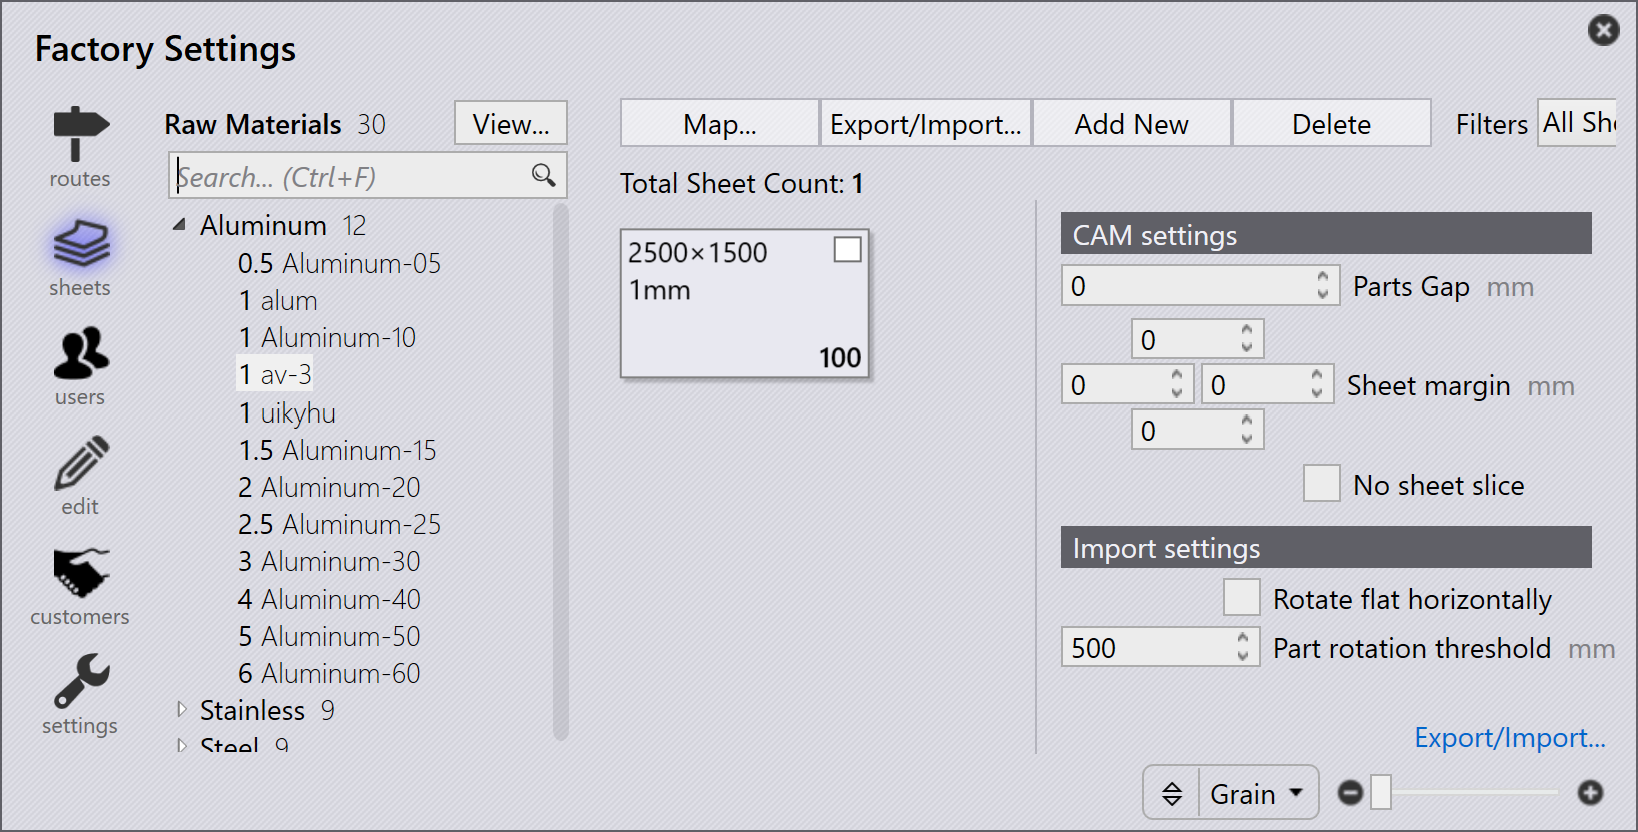
1. Configure the system
Configure Praxis to match your manufacturing environment. This foundational step includes defining machines with their capabilities and parameters, adding available materials and thickness ranges, configuring tooling libraries with punches and dies, creating setup sheets for different machine configurations, and managing user accounts with appropriate permissions. A properly configured system ensures accurate processing and prevents errors in later stages. This setup is typically performed once during initial deployment, with periodic updates as your factory evolves.
For more information, see Add/Remove machine, Material, Sheets, Setup tooling, and Configure users.
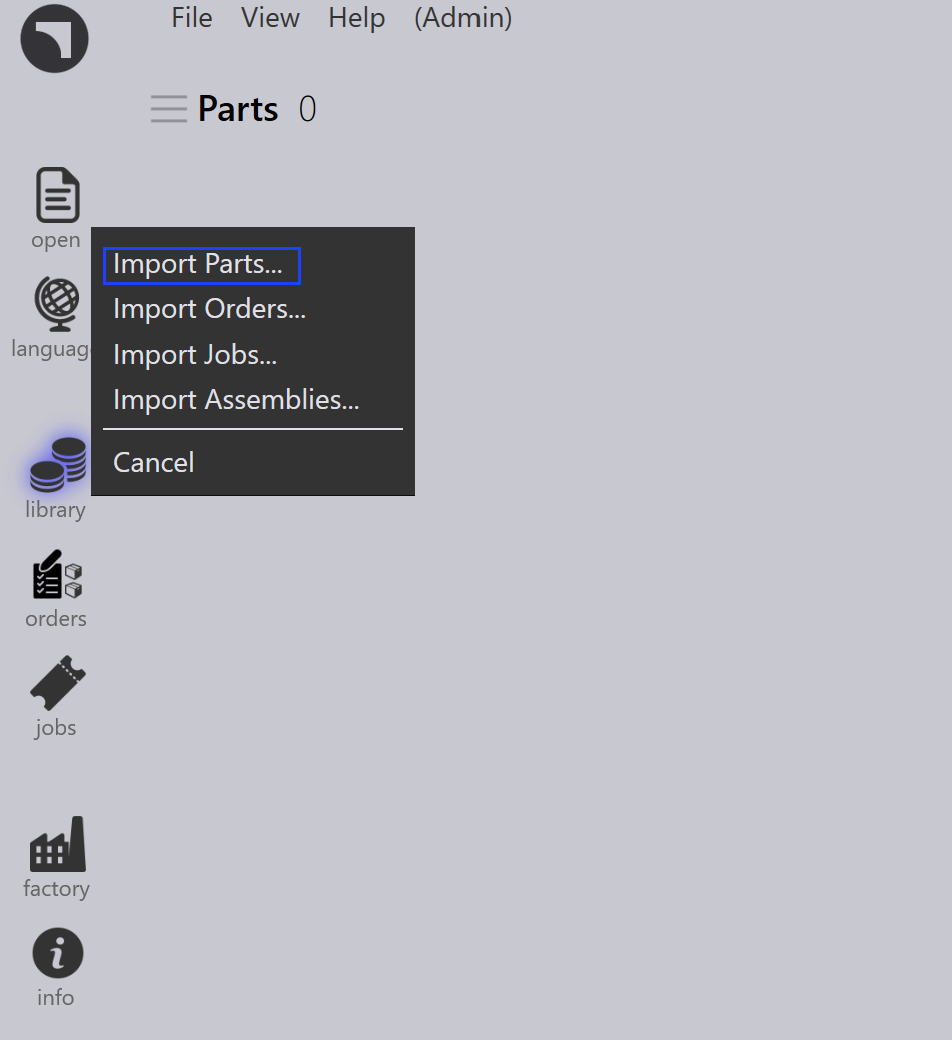
2. Add parts to the library
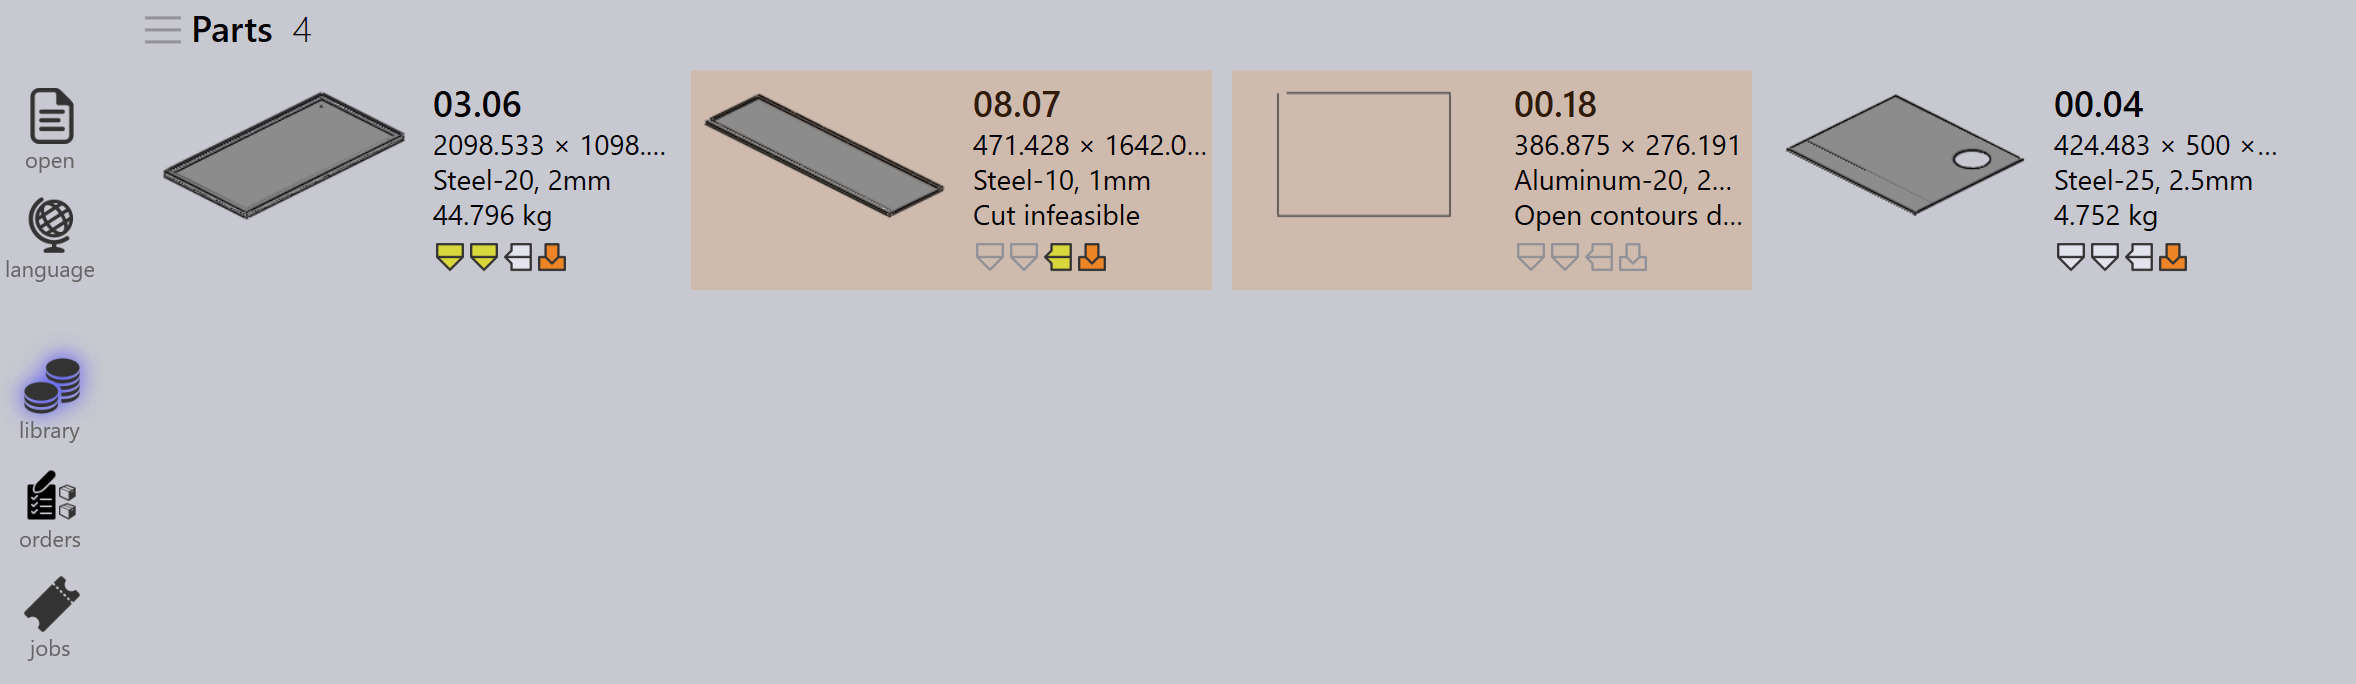
Import 2D or 3D CAD parts into the Part Library using supported formats such as DXF, DWG, or STEP files. During import, Praxis automatically analyzes the part geometry, validates manufacturability, assigns required sheet metal technology (laser, punch, or combination), and generates preview thumbnails. Imported parts appear as tiles in the library view, where color-coded icons indicate part status, technology type, material requirements, and any detected issues. This visual system allows quick assessment of part readiness at a glance.
For more information, see Library.
3. Verify parts and tooling
Review each imported part for potential production issues. Verify that part geometry is valid and manufacturable, tooling assignments are correct and available, material and thickness selections match inventory, and bending sequences are properly defined for formed parts. If problems are detected, open the part in Flux to modify geometry, reassign or optimize tooling, adjust processing parameters, or correct material specifications. Resolving issues at this stage prevents production delays and reduces scrap during manufacturing.
For more information, see Part state and Tooling status.
4. Organize parts into jobs
Group validated parts into jobs based on production requirements. A job represents a logical production unit that may include parts from a single customer order, parts sharing common materials and thickness, parts with similar delivery deadlines, or a combination based on your production strategy. Jobs provide a container for planning, allow batch processing of related parts, enable efficient material utilization through nesting, and simplify tracking and reporting. Jobs can be created manually by selecting parts, or automatically based on predefined rules and filters.
For more information, see Jobs.
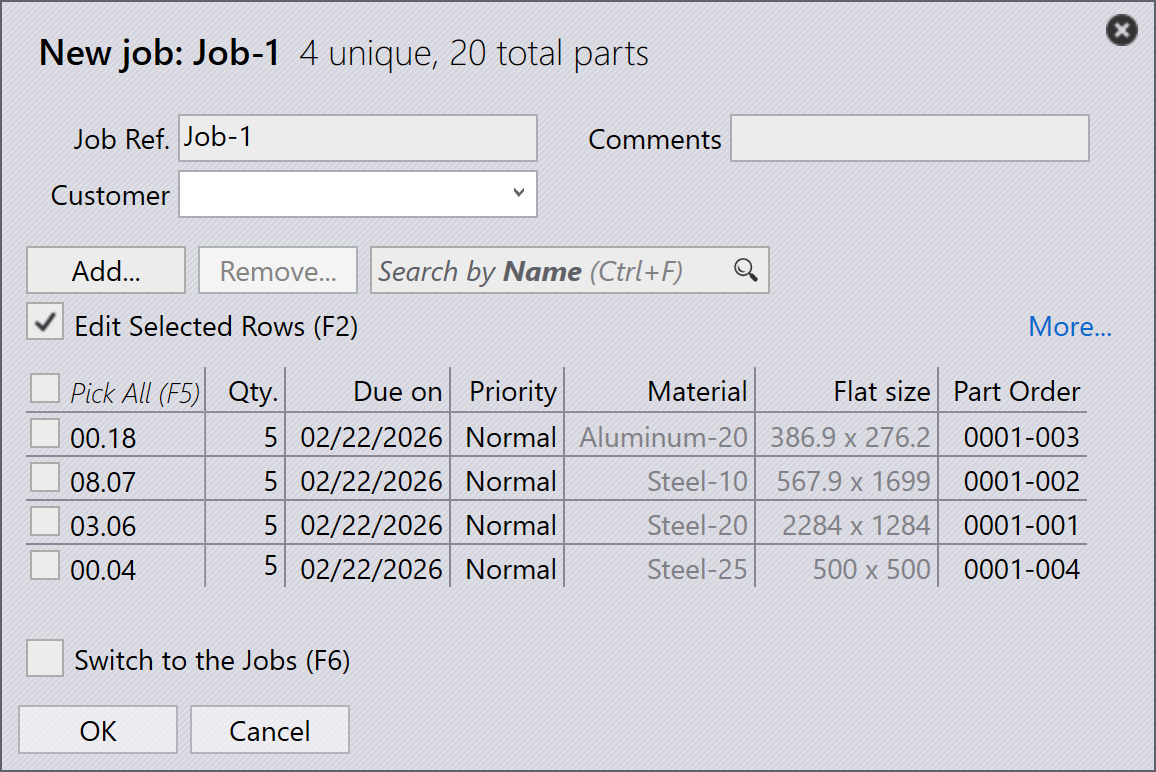
5. Plan jobs to production machines
Once a job is created, assign it to an appropriate production machine. Consider machine capabilities including supported technologies (laser, punch, turret), material and thickness capacity, available tooling, and current workload. If multiple suitable machines exist, select based on production priority, machine availability, setup requirements, or cost optimization. Assignment can be manual for flexibility or automatic based on pre-configured rules and machine scheduling algorithms.
For more information, see Plan job.
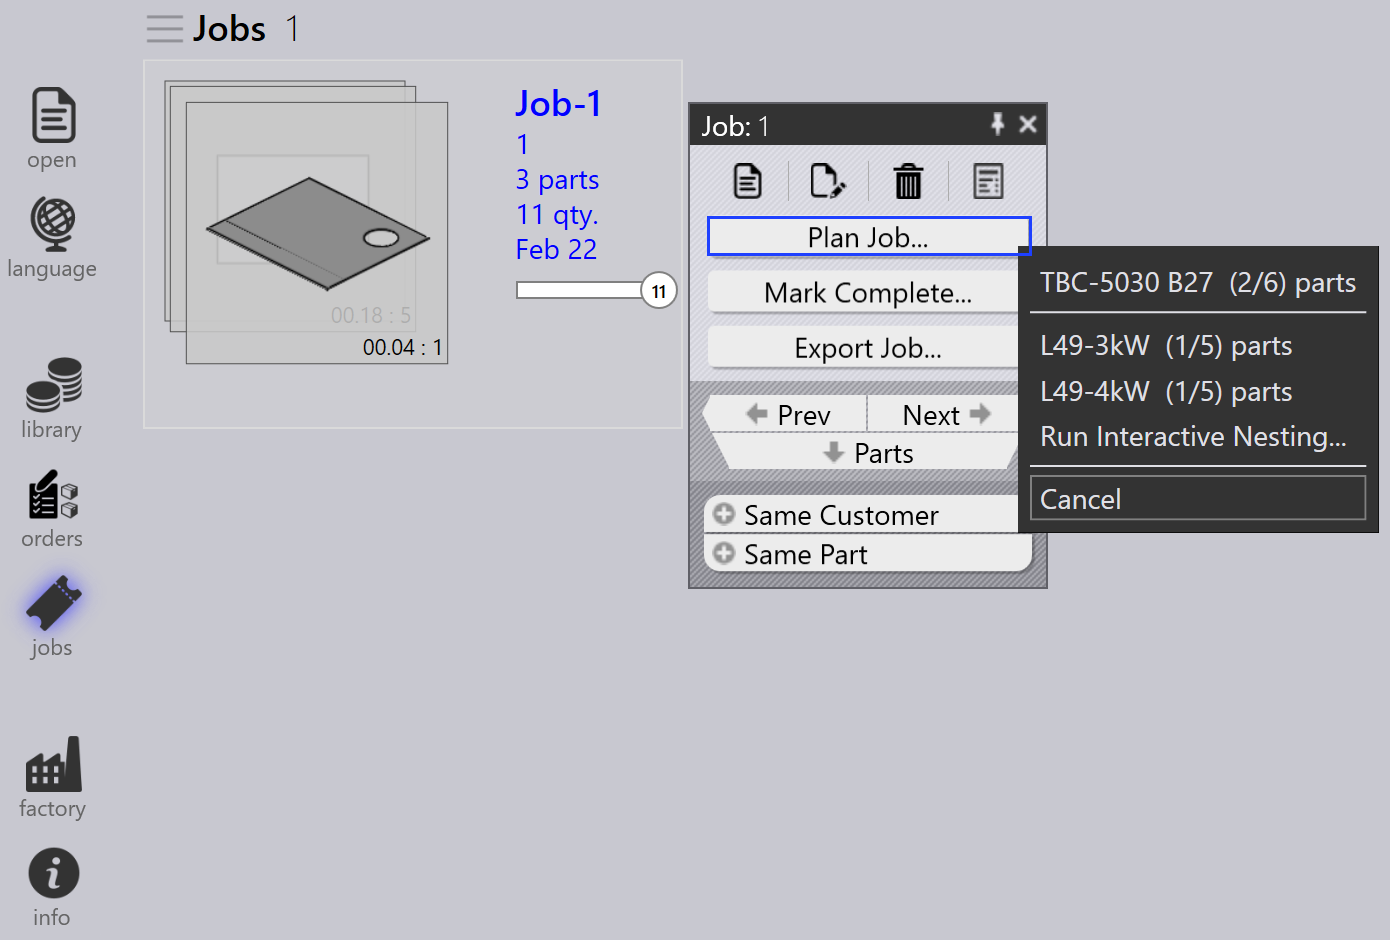
6. Release NC for jobs
At this stage, cut layouts are generated. You can still edit layouts and add cutting technologies to the layout using Flux. Afterward, export the NC output and transfer it to the machine controller or a designated network location. The job is then locked to prevent further modifications, and its status is updated to "Released" for production tracking.
For more information, see Send/Recall NC.
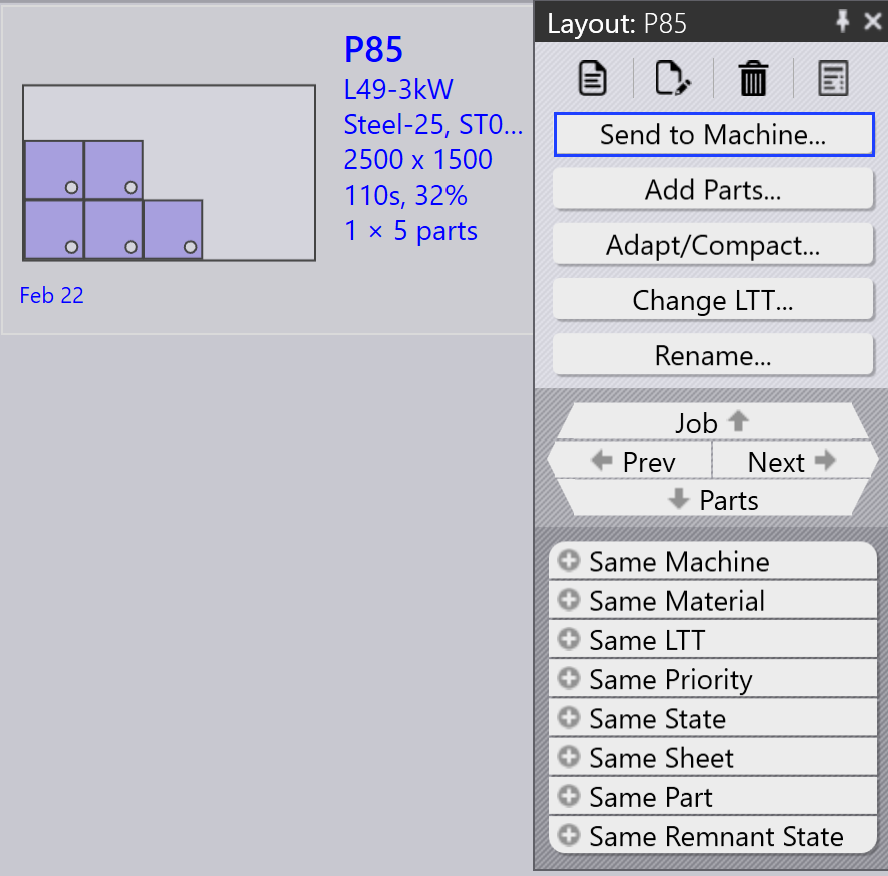
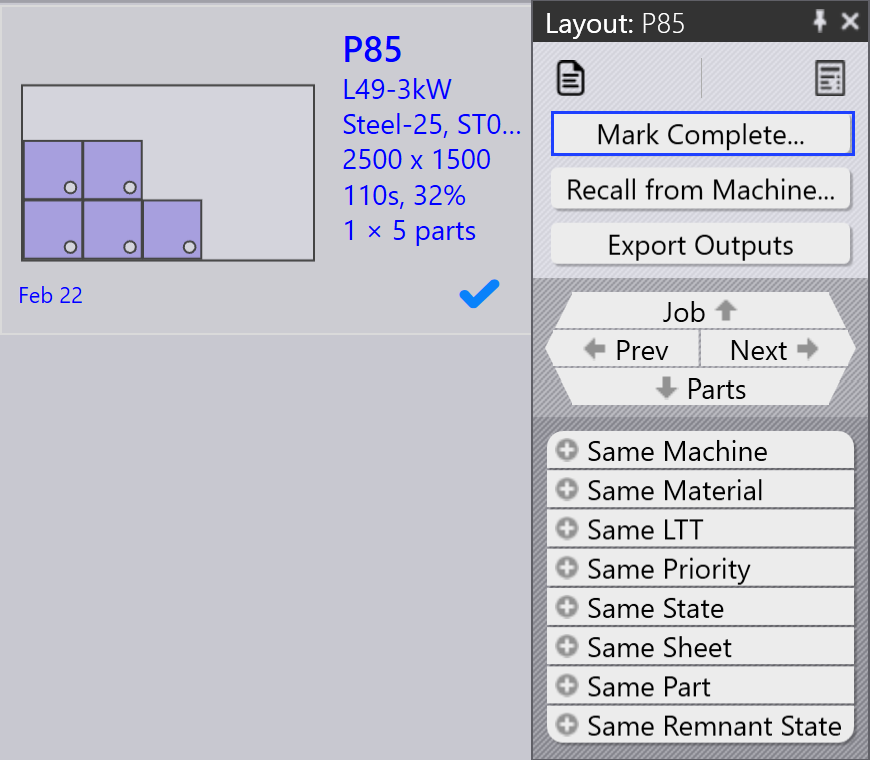
7. Complete production and finalize jobs
Execute the released job on the assigned machine. During production, the machine operator follows the NC program, verifies part quality during cutting, manages material loading and unloading, and addresses any machine alarms or issues. After production is finished, mark individual parts or the entire job as complete in Praxis. This final step updates inventory records, records actual production time and material usage, archives job data for reporting and analysis, and completes the workflow cycle.
For more information, see Mark complete.